Exercise 9c – Labeling in ArcGIS Pro
Some tips about a more efficient labeling in ArcGIS Pro
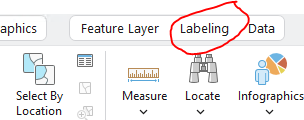
ArcGIS Pro has different ways to label features. The most complete and easiest is just to use the “Label” command found in the ribbon (Labeling) when you highlight a theme in the contents pane (or just right click in the theme in the CP and chose “Label”).
When you click on this tab you’ll be offered a whole ribbon worth of tools for labeling features.

The first group, Label Class, is very important as this is where you can select which attribute to use as labels. You should try the different tools to see what you can do.
Unfortunately, this “automatic” labeling places the labels on top of the features. You can use the “Label Placement Style” group to modify a little the placement, but it’s still very limited (the label will always be on top of the feature). To overcome this limitation (until ESRI decides to improve on this) you need to add the labels manually.
Contents
Labeling in the Map window
To add labels to features without using the “Labeling” tools you can add text (and multiple graphic objects like lines, shapes, dots, etc.) to the map. To do so you need to “Add a Graphics Layer.
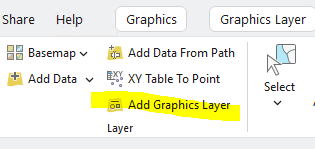
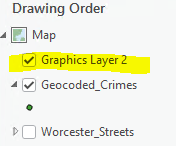
In the Map tab click on the “Add Graphics Layer” button in the Layer group and new tabs will be available above the ribbon and a new “Graphics Layer” is added to the CP.

Next you click the Graphics tab and you’ll find an Insert group where you’ll find tools to add different kinds of text and other symbols (even a picture!).
There are other tools available in this ribbon that you can experiment. Also, notice that there is a Graphics Layer tab in the top where you can customize some of the characteristics of these objects that you’re adding.
These objects will show up in both the map and the layout. But be aware that their position and appearance is scale dependent, so , don’t add them until you’re ready to prepare the layout. If when working on the layout you notice that the need to be changed somehow, you’ll need to come back to the map to do so.
It might be more convenient to leave all the labeling to the layout as explained in the next part.
Note: The objects added within a Graphics Layer are NOT feature themes. They only exist within the confines of your map document although they can be “shared” by right clicking on the graphics layer in the CP and choosing to share as a Layer File (I don’t know what for).
Labeling in the Layout window
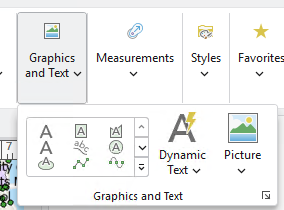
Another very convenient way to add text and objects (figures & images) to a map is doing it directly in the Layout using the tools in the Graphics and Text group of the layout ribbon.
Labels/objects added this way will appear in the layout only, not on the map, unlike the previous tools. But these can easily be moved/updated while in the layout, unlike the labels added as Graphic Layers in the Map.
Basemap credits
Every time you use some of the provided basemaps in ArcGIS Pro the software will add the corresponding credits (copyright info) at the bottom right of the map. As you change the basemap these credits will change accordingly because they’re “dynamic”, more on that later.
Note: If you do not use any basemap these credits will not show up.

Sometimes these credits interfere with objects in your map. And it would be convenient if they can be moved to another place in the map where they don’t interfere.
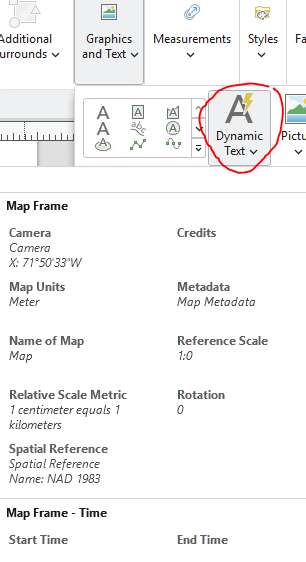
These credits are what is called, in ArcGIS, “Dynamic Text” and they can be manipulated in the layout ribbon under the Graphics and Text tools in the Map Surrounds group.
Notice that there are lots of options under this tool arranged in multiple groups. You might want to explore some of these.
What make these “dynamic texts” special is that they change if the “source” of the information changes. For example, if the you inserted the “scale”, e.g. 1:10,000, as text (not a graphic scale) in some place on your layout, if you change the zoom of the map this text will change accordingly to reflect the new scale (similar to a graphic scale, which is also “dynamic”). If you had added the scale as plain text and you change the scale, then that scale will be wrong.
Now, click on the Dynamic Text tool down arrow and scroll down to a Layout group and find the “Service Layer Credits”. Click on this and notice that the cursor over the layout changes. Click on any suitable place (open area) on the layout and the credits will be added there as a very ugly and very long string of letters that can now be sort of configured. You could place it outside of the layout (so it won’t print) or change the color of the text to “No Color” therefore it won’t show.
Disclaimer: Those credits are the copyright info of the basemap used. They are there for legal reasons. Removing them from the layout defeats the purpose of the credits.