- Cover the decorations (texture of the wings) on the bottom bones.
- Research for appropriate types of LEDs
- Test the length of the LED strip and compare with wings
- Combine LEDs working as the output and the tilt sensor as the input
In class the week coming up to Thanksgiving, we gave the Psychology Department (or was it Education?) students an initial presentation of our progress. I got a lot of valid feedback. One of the big ones was that “CPB is so advanced, can’t the difficulty make more interesting tricks?” For example, a gradient rainbow.
I was actually surprised to hear this suggestion at first. I had already spent some time learning how to do the x,y,z directions without them knowing. I was even tempted to retort, “This questioner is just like some of the leaders of the A-side who are overstepping their bounds”. But I waited carefully for them to finish, and then after thinking about this challenging offer, I have to admit that I was intrigued. With active listening, I convinced myself that this was a further challenge to step out of my comfort zone, and I put it on my schedule for next week.
Going back to the original plan for this week, I finally found the sample codes for the tilt sensor and Neopixel available inside the Arduino with Audrey’s help. They were so concise and clear compared to the ancient SquareWear codes! I was really relieved to see the monitor print out a string of x,y,z values on the fly without having to transcode them. I decided to install a CPB on the bottom of each of the two wings so that they can be sensed separately.
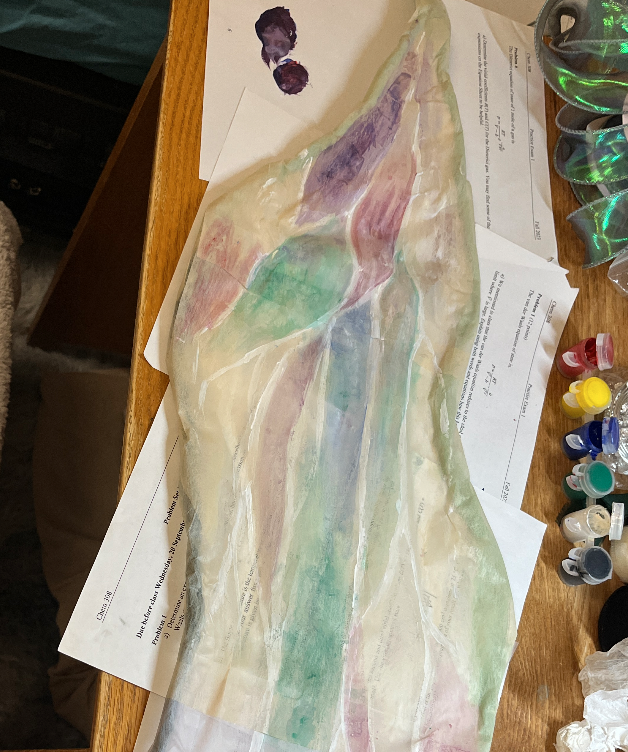
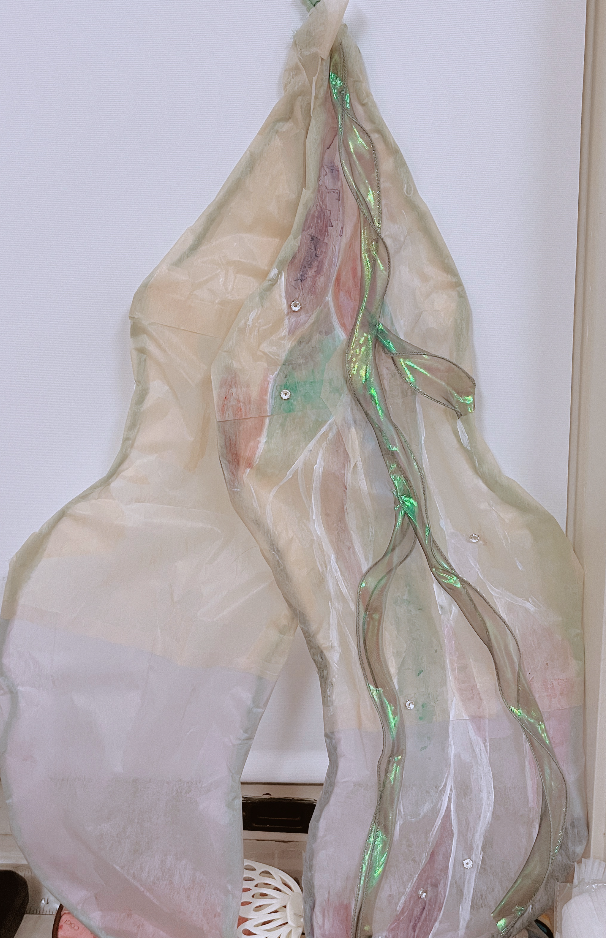
In addition, I stepped up my time to lay out the surfaces of the wings. I started by colouring with gouache, then sewed on polarised purple-green ribbon to simulate the grain on the wings. As I originally envisioned, I didn’t make a one-to-one replica of a real animal’s wing (or fin), but added more integrated fantasy elements so that it became a unique style. Finally I sewed on sparkling beads with glass thread. It became a passable wing (although I was told by my flatmate that it looked like a pair of green Christmas trousers, but I was happy with it!)


Then came the LED part. Audrey initially brought me 3-tip LED strips to experiment with, but I didn’t really figure out how that worked. Then I gradually understood that one negative connector (usually the black wire) connects to GND, and one positive connector (the red wire) for 5 volts, connects to the labelled V connector. And the white wire connects to the content command connector (which is the connector where the 2-tip LEDs will merge with the red wire), and the commands I write through the Arduino flow down this through each LED bulb. So it needs to be connected to the data ports on the CPB, such as A1, A3, and so on. Some of the more complex LEDs with many wires all basically follow the same principle, they will just have other settings. Immediately after understanding this, I was less afraid of all the various and sundry LEDs in storage.
Having solved part of the hardware problem with the LEDs, another problem arose. Obviously, connecting the LED strings to the CPB with many pairs of pliers was unstable and impractical; after all, the interfaces are all very small. With Kalki’s help, I learnt to cut and solder the circuits so that they fit tightly and save space. This was another step out of my comfort zone like woodworking, as I was afraid that hot tin would burn my skin, but in fact technology is a handy tool when done correctly. I’m grateful that I had the opportunity to learn this new skill.
After dealing with several LED strips, I kept experimenting with a new one and I was really, really careful. Soldered LED strips that are not stable can have all sorts of “funny” surprises. The lights would flicker abnormally, make a bared sound like a horror film, and the CPB itself would buzz and vibrate in protest. I would immediately unplug it in this situation because I was so afraid it would leak. But eventually I subdued the wires and they were bonded so beautifully and securely that even when I shook it violently, no accidents happened. I think the secret is that the wire wrapped inside the lines must be combined and tightened, and then tin wrapped around it at the exact point, and that you can’t cut too much of the wire to expose it to the outside of the pipe.
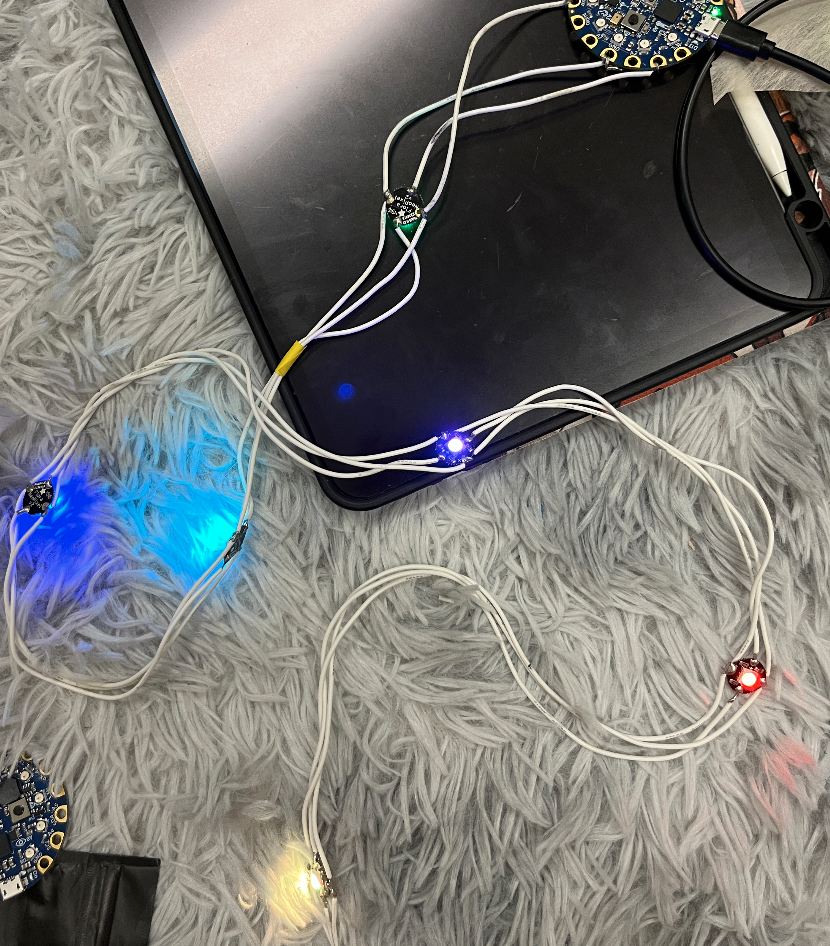
I therefore prepared some individual LED beads and used my newly learnt skills to string them together to make my own soft and self-spaced LES strings. They are each very bright, see the pictures below.

I ended up testing what the number of beads on the strip should be. I didn’t want the light beads to be all centred on the main vein of the wing, but rather they should be scattered throughout the wing like stars. So I ended up making two LED strips with six beads each.
