Converting MiniDV or 8mm tape to DVD
[Make sure that the playback deck and Sony DVD Recorder are connected by a single cable. Also make sure that all of them are connected to their respective power sources! Bring a DVD with you (one can be purchased in the Info Commons vending machine.) ]
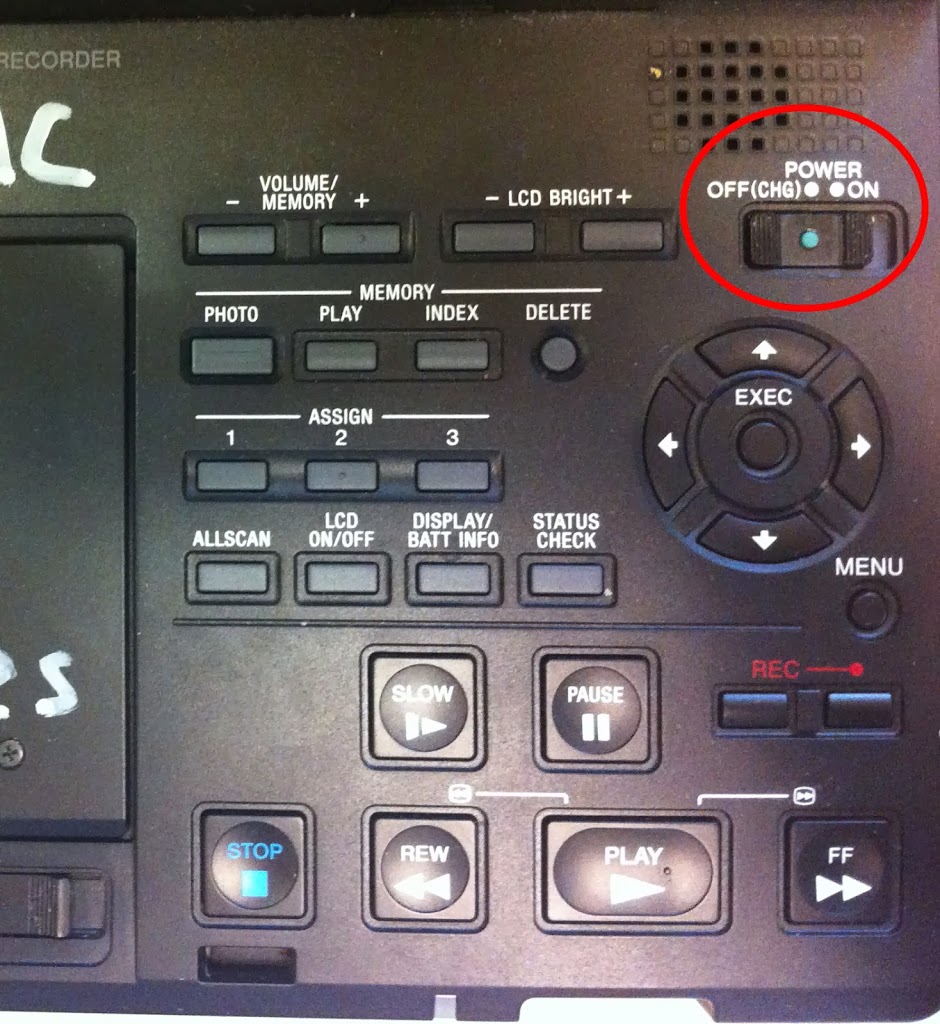
1) Turn on the playback deck.
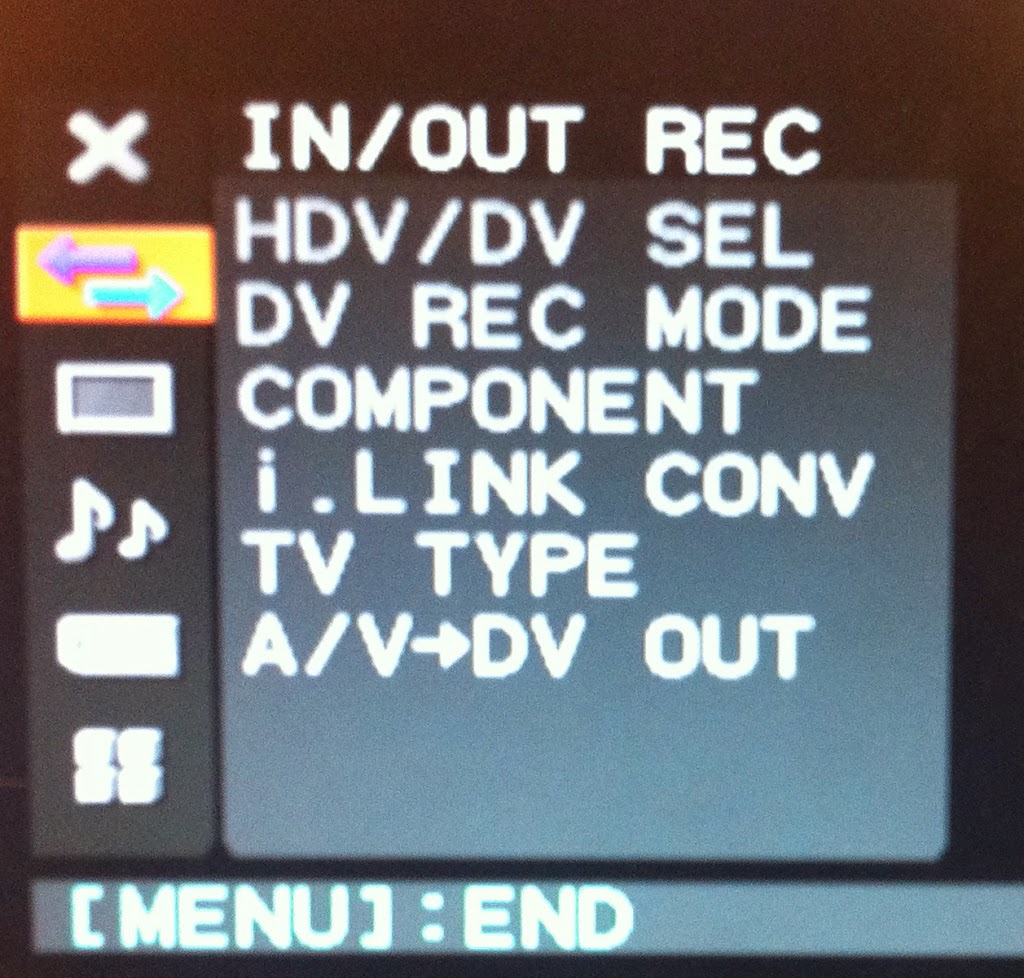
2) Push the “Menu” button.
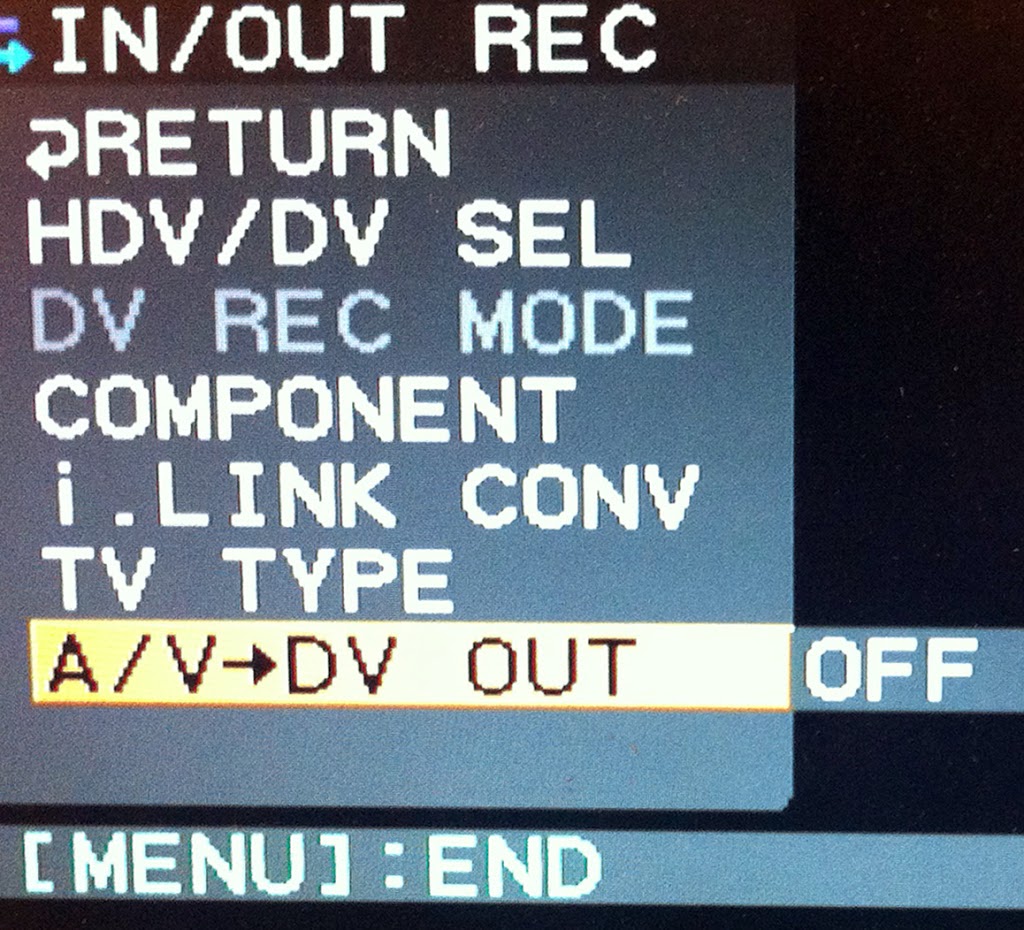
3) Under “IN/OUT REC”, make sure that “A/VàDV OUT” is set to “OFF”.
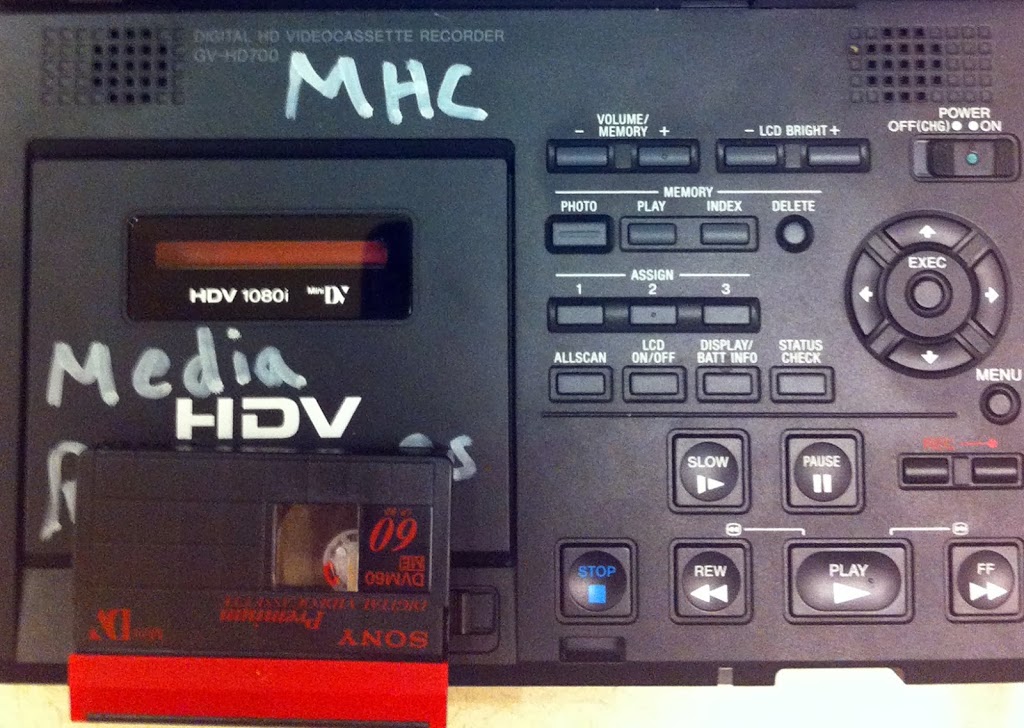
4) Insert the tape in the playback deck.
*** Suggestion: play the tape using the playback deck just to be sure that the tape is working properly.
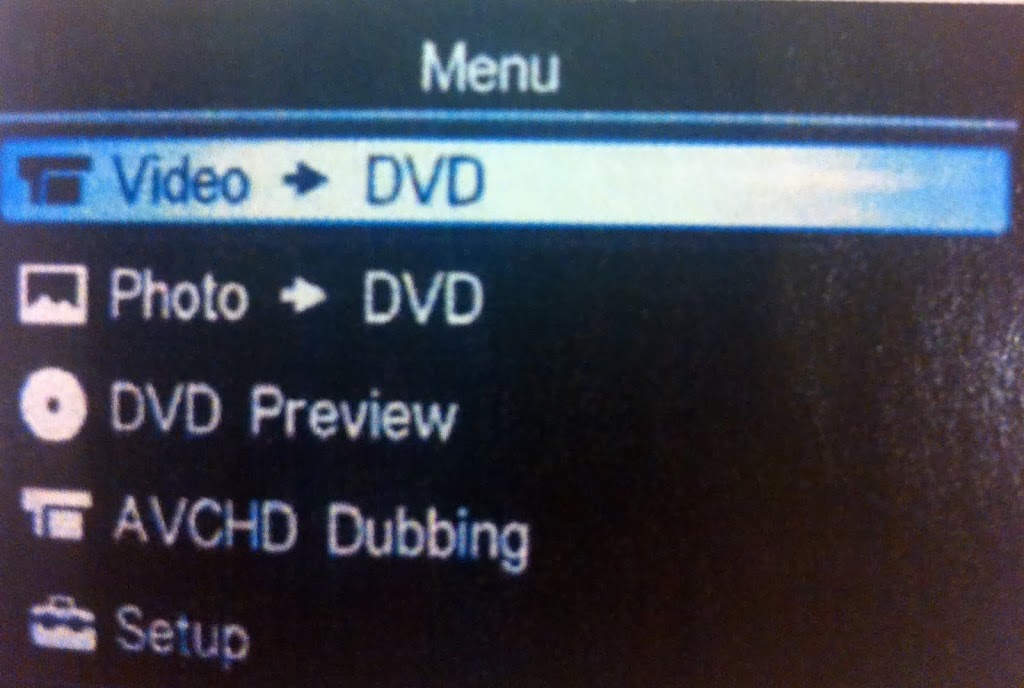
5) Turn on the Sony DVD Recorder.
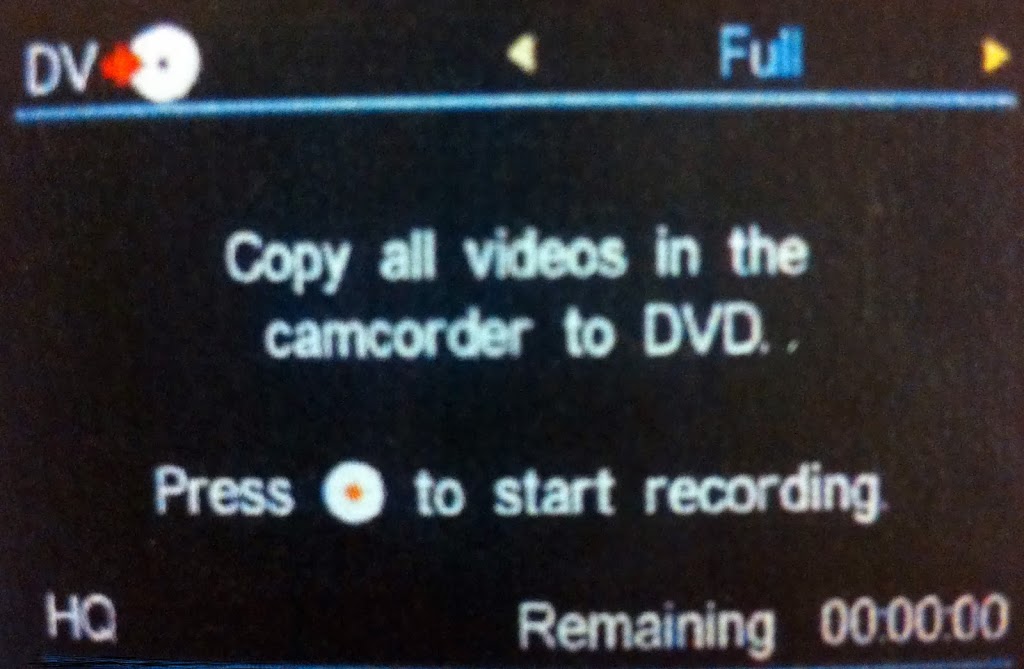
7) Select “DV IN”
8) Push the eject button and insert the DVD.
9) Hit the “Play” button in the playback deck. The Sony DVD Recorder will start recording automatically. (The white button glows with a red outline while recording. You can also press the big white button to record)
***Conversions from tape are in real time i.e., converting the tape requires the actual time it takes to play the footage.
10) Even after all the footage has been transferred, the DVD Recorder will continue to look for video signal until the tape runs out. It will finalize everything automatically at the end of the tape. Or you can stop the recording when you have what you need.
11) Once it finishes finalizing, the recorder will eject the DVD automatically.
Congratulations! You are done!
For more complete instructions, there is a document with complete instructions for using this equipment in the holder next to the equipment.
