Adding a Featured Image to a WordPress Post:
In order to make your archive pages and posts more dynamic and interesting, it can help to add a “Featured Image” to each post. This image will be attached to the post and give it its own identity of sorts within your library. This can help you with organization, and also helps those reading your content by giving them a visual to engage with. It is also really simple!
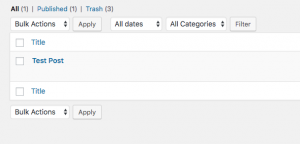
Say you want to go in and add a featured image to a post you created in the past:
- Go to the desired post

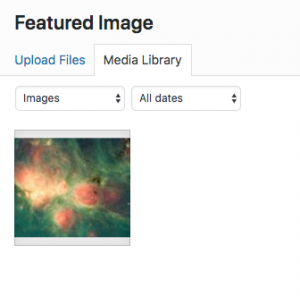
- Go to the bottom right hand corner of the editing page to the “Featured Image” box. Click on “Set Featured Image.” This will take you to a screen where you can either pull an image from your “Image Library” or you can upload a new image.

- If you are adding an image from your computer, you could simply drag it into the box provided under the “Upload Files” header, or you could go into your computer and select it from there. If you are picking an image from your “Image Library,” you can simply click on that image.


- Finally, you click on the button that says “Set Featured Image” in the bottom right hand corner of either screen, and your “Featured Image” is set!

