Are you cringing because the switch between two of your clips are just so rocky? Never fear, transitions are here!!!
Here’s how you use them:
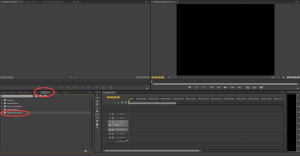
1. Go into “Effects” in the project pane (bottom left hand box) and open “Video Transitions” folder.
2. Open the folder with the name of desired transition type.
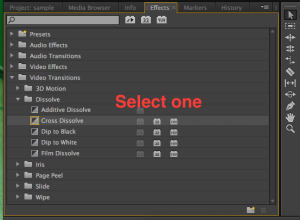
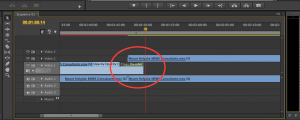
3. Drag desired transition and fit it in the line between the clips requiring a transition
-OR-
Select all the clips you want to have this transition between by using shift or clicking/dragging with the mouse and going to “sequence” in the bar at the top of the page. Select “Apply Default Transitions to Selection”.
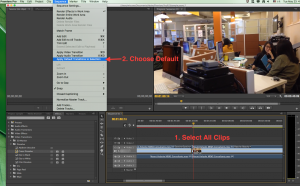
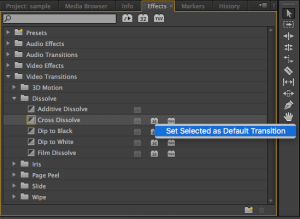
NOTE: The transition with the yellow bordered square to the left of the title is the default transition. You can set the default transition by right clicking the desired transition and selecting “Set Selected as Default Transition”.
4. To adjust the duration/speed of the transition use the gray squares on either side of the gray bar at the bottom of the timeline and drag left or right to visually enlarge the project material. Use the long gray bar to scroll until you find the transition. Click the transition and drag right to extend it/slow it down and drag left to shorten it/speed it up.
5. You can also control how much of each clip is seen at the start and end of a transition by clicking the transition and dragging the little pentagons on the bars under Square A and B that appear in the source monitor.
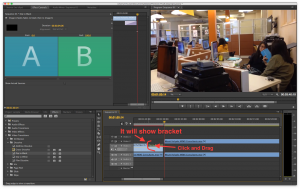
6. You can control whether the transition is primarily in the first or second clip by double clicking the transition and hitting +1 or +5 to move it more toward the second clip and -1 or -5 to move it more toward the first one. Use the middle button with the black and white rectangle to set it back to its default position.
Hope this helps! Remember, if you need help, our consultants will be happy to help you!
