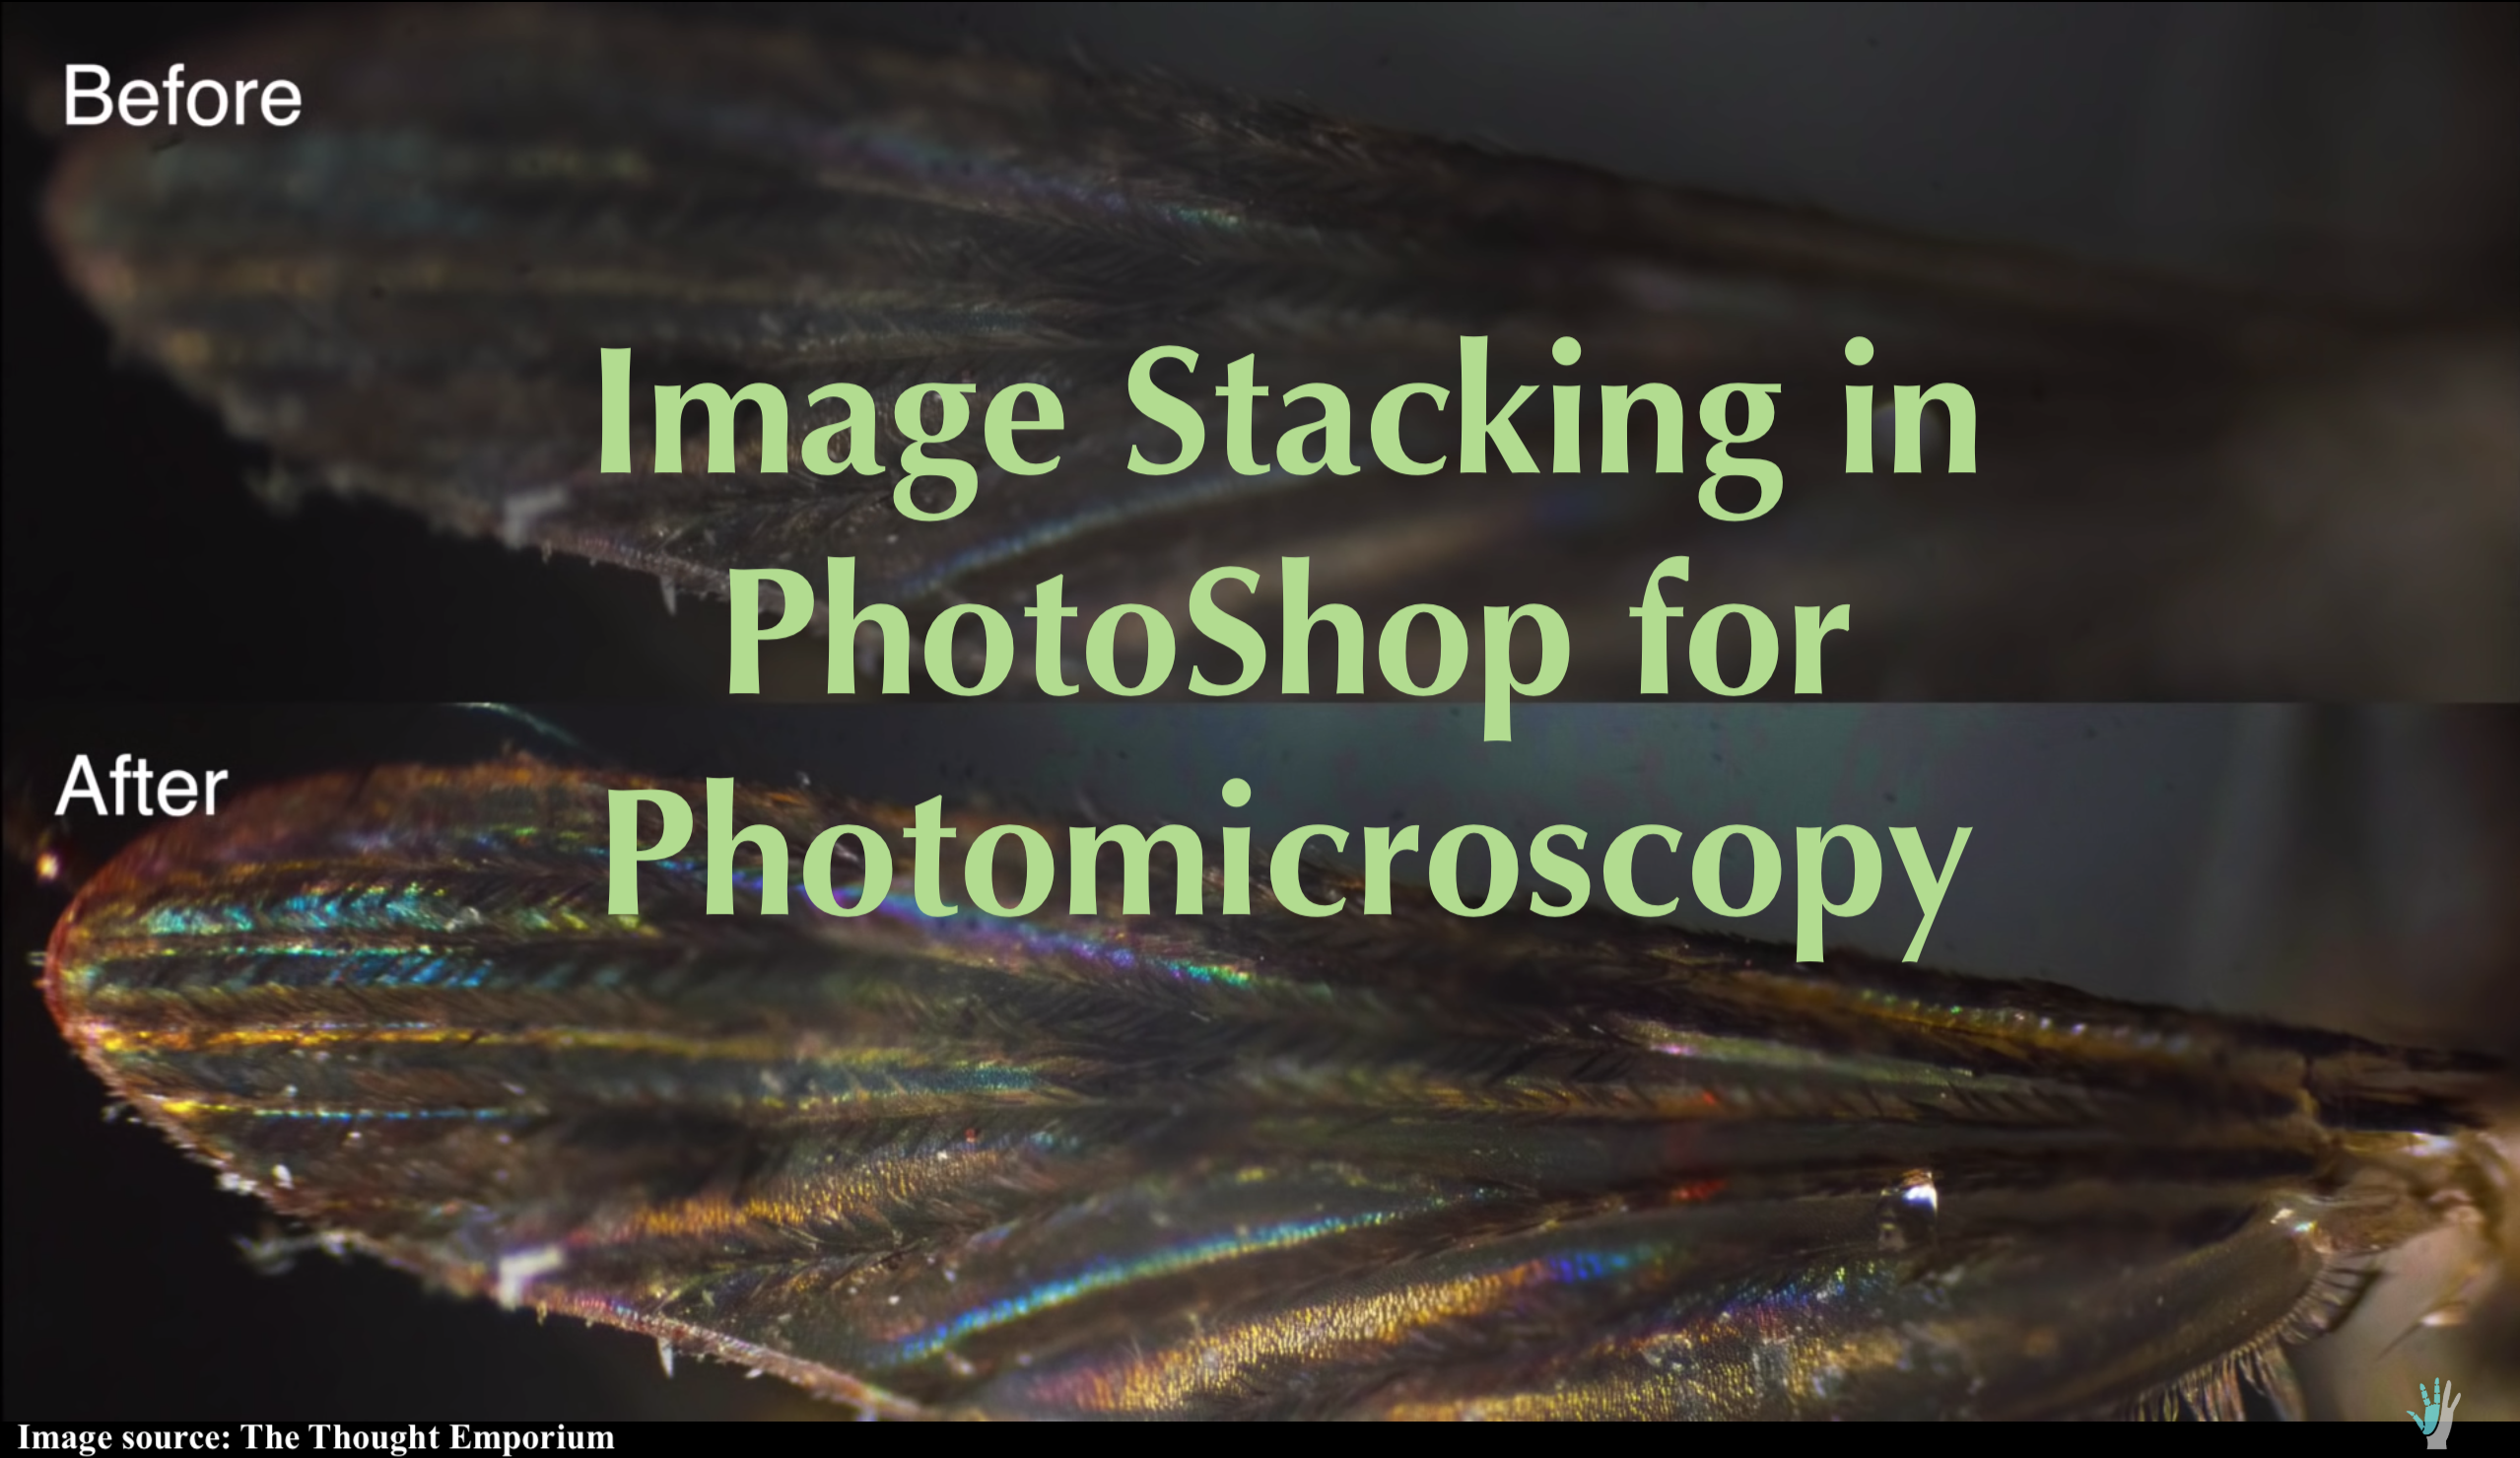
For the next few weeks, a series of blog posts aimed at multimedia work for the sciences will be posted. Today, we’re starting out with a technique that may be somewhat advanced, but once mastered can lead to an immediate and vast improvement in the quality of your photomicrographs. Part of the struggle with photographing microscopic objects is that it can be difficult to get all of what you are photographing in focus. Focus stacking is an excellent way to combine images with different levels of focus into one image, with the end goal being a photomicrograph with the whole field of view in focus.
For a visual walkthrough of the editing process, the following video shows the steps you can take in photoshop to quickly stack your photos.
*Note: the link begins the video after the setup process is complete, assuming you will have already set up your microscope and image capture equipment. Many labs at Mount Holyoke have at least one microscope equipped with a camera—ask your professor or advisor if you need help finding one.
You’ll want to begin by focusing on the highest or lowest portion of the object and capture your first photomicrograph. You’ll then slowly rack the stage up or down, progressively taking images at different stages of focus until you’ve captured your whole object. The amount of images you’ll end up with depends on how much detail you want. The more photos you take, more of your object will be in focus. Still, you can get a high quality image with relatively few photos.
The next step is loading your images into PhotoShop. The video above first loads the images into Lightroom in order to convert the raw images into .jpegs, but you should be able to skip this step.
- Open PhotoShop and load your images by selecting File -> Scripts -> Load Files into Stack.
- Browse your files, and select the images that you will be using. All of these selected files will be loaded into individual layers.
- Select all of these layers.
- Select Edit -> Auto-Align Layers.
- Most of the time, the previous step will lead to some warping that will leave the edges of your image empty. Select the viable portion of your image and crop out the edges.
- Finally, go to Edit -> Auto-Blend Layers. For Blend Method, make sure that “Stack Images” is selected, then click ok.
- There you have it! Save your file in your desired format and share away.
This is an exceptionally useful technique to perfect if you anticipate having to take a great many photomicrographs in your future. Luckily, the process is fairly straightforward in PhotoShop and can be completed in a matter of minutes.
