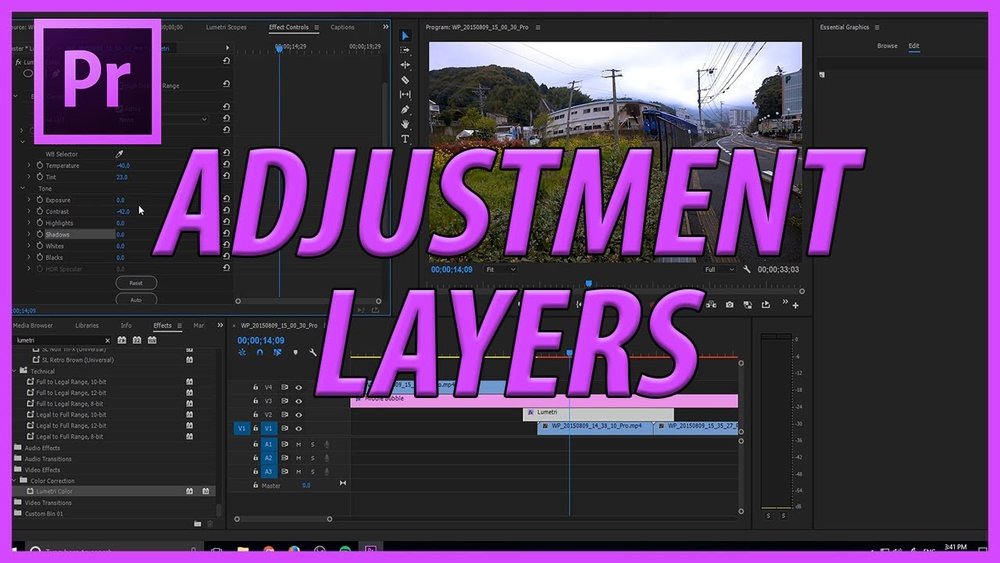
Adding an Adjustment Layer in Adobe Premiere is a great way to easily edit the brightness/contrast/color balance/general look of your footage. One of the most annoying things that can happen while you’re trying to color correct or improve the appearance of your footage is for your experimentation to mess up the look of your clips, and to have to start all over. An Adjustment Layer is simple because it acts as a layer that is completely separate from your footage; you can drag it over any part of your video that you feel is necessary.
The above tutorial shows you how to quickly and easily create a new Adjustment Layer. David also highlights the multiple reasons why making an Adjustment Layer is more helpful than simply editing the raw footage as is.
