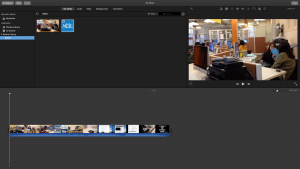
Saving a project to a hard disk:
1. First connect the external hard disk to your computer.
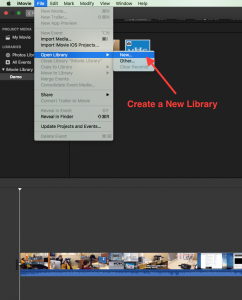
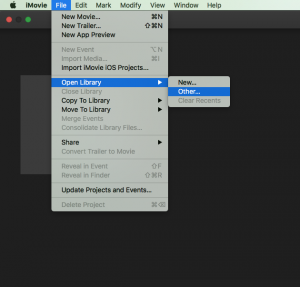
2. Create a new library in your external hard drive. Go to File => Open Library => New.
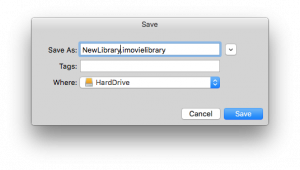
Then, saving the imovie library in your external hard drive.
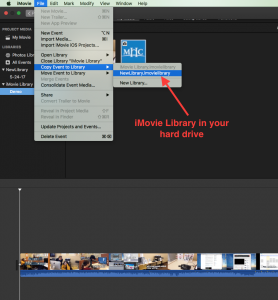
3. Select your event and go to File => Copy Event to Library => yourlibraryname.imovielibrary
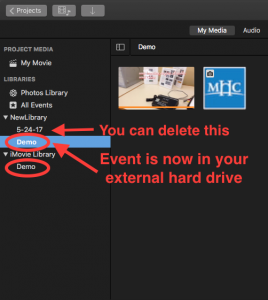
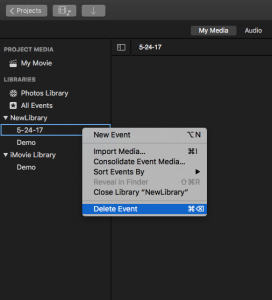
Then, the event will show up in the library you just created. You can delete the default empty event by right click the event and choose “Delete Event”.
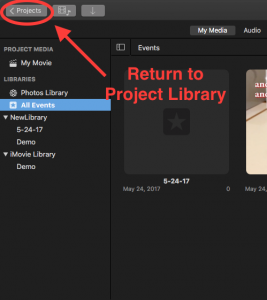
4. Go to Project Library
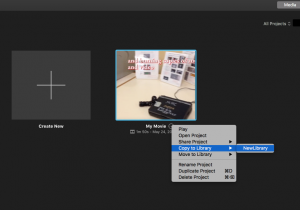
5. Click on the ![]() next the project you have created. Choose Copy to Library => yourLibraryName
next the project you have created. Choose Copy to Library => yourLibraryName
Now, the project and events are all saved into your external hard drive!
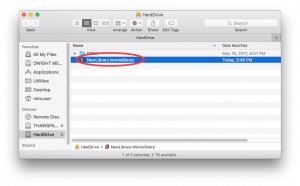
If you want to open your hard, you can simply click on the imovie library in your external hard drive.
or
1. Open iMovie
 2. Go to File => Open Library => Other…
3. Choose “Locate”
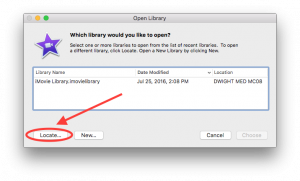 4. Choose the imovie library in your external hard drive
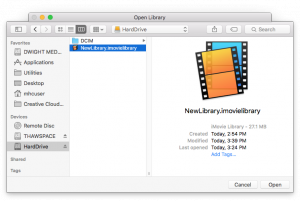
5. Choose the project want to open
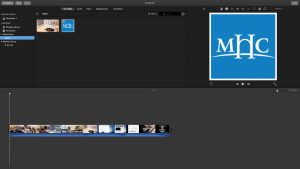
And the project and events are here!
“Copy Project/ or Move project” means that project in its new location rather than physically copying project’s video and other media (such as photos) onto the other disk. This will NOT allow you to work on your project from another Mac. It creates only a copy of the project file, no clips, images, etc. that are part of your project. This is not usually useful for protecting/backing up your work.
Make sure you select Move Projects and Events!
Please remember that computers at MEWS are frozen, which means that they automatically delete any saved files on the computer!
Click here for more in depth explanation 🙂
