The Process of Making
This project took place over a period of four weeks. The the artists engaged in the Cloak-making across multiple locations, including the Mount Holyoke’s Fimbel Maker and Innovation Lab (the MHC Makerspace), studio art spaces, and the artists’ off-campus residence. In this section, we describe the Cloak-making process, highlighting the material components and technical skills integrated into the finished possum skin cloak.
Arranging and Cutting Pelts
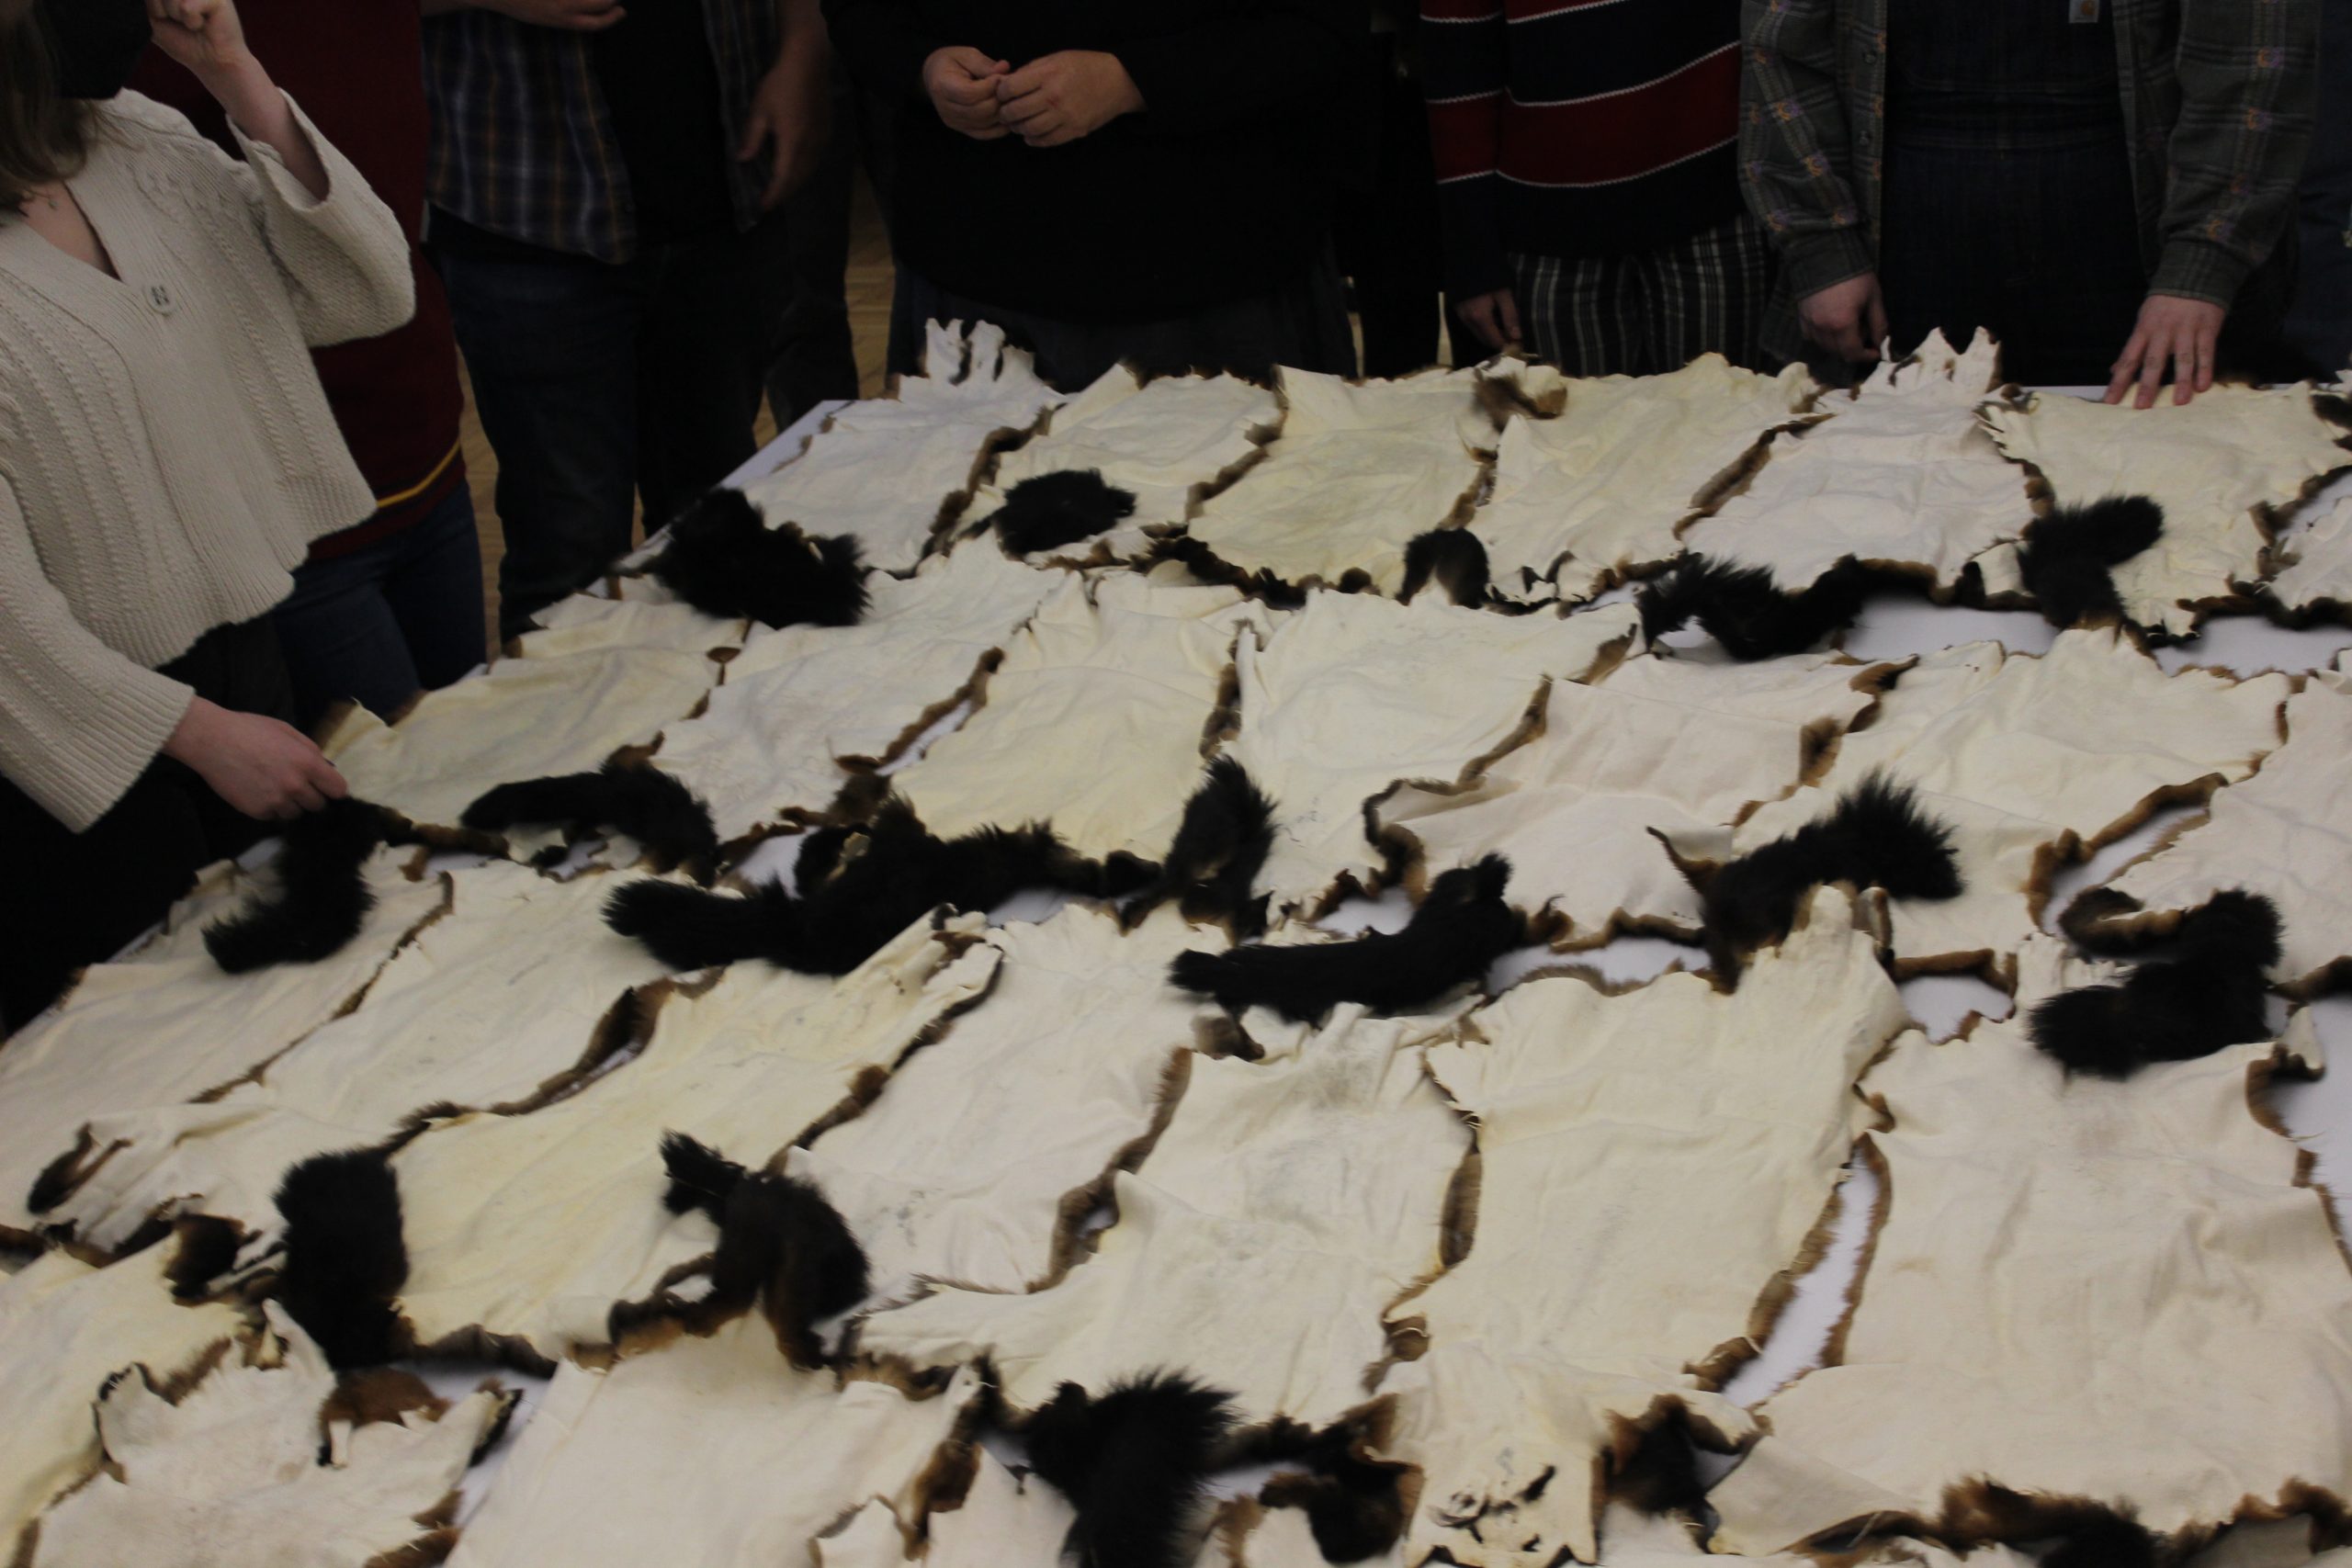
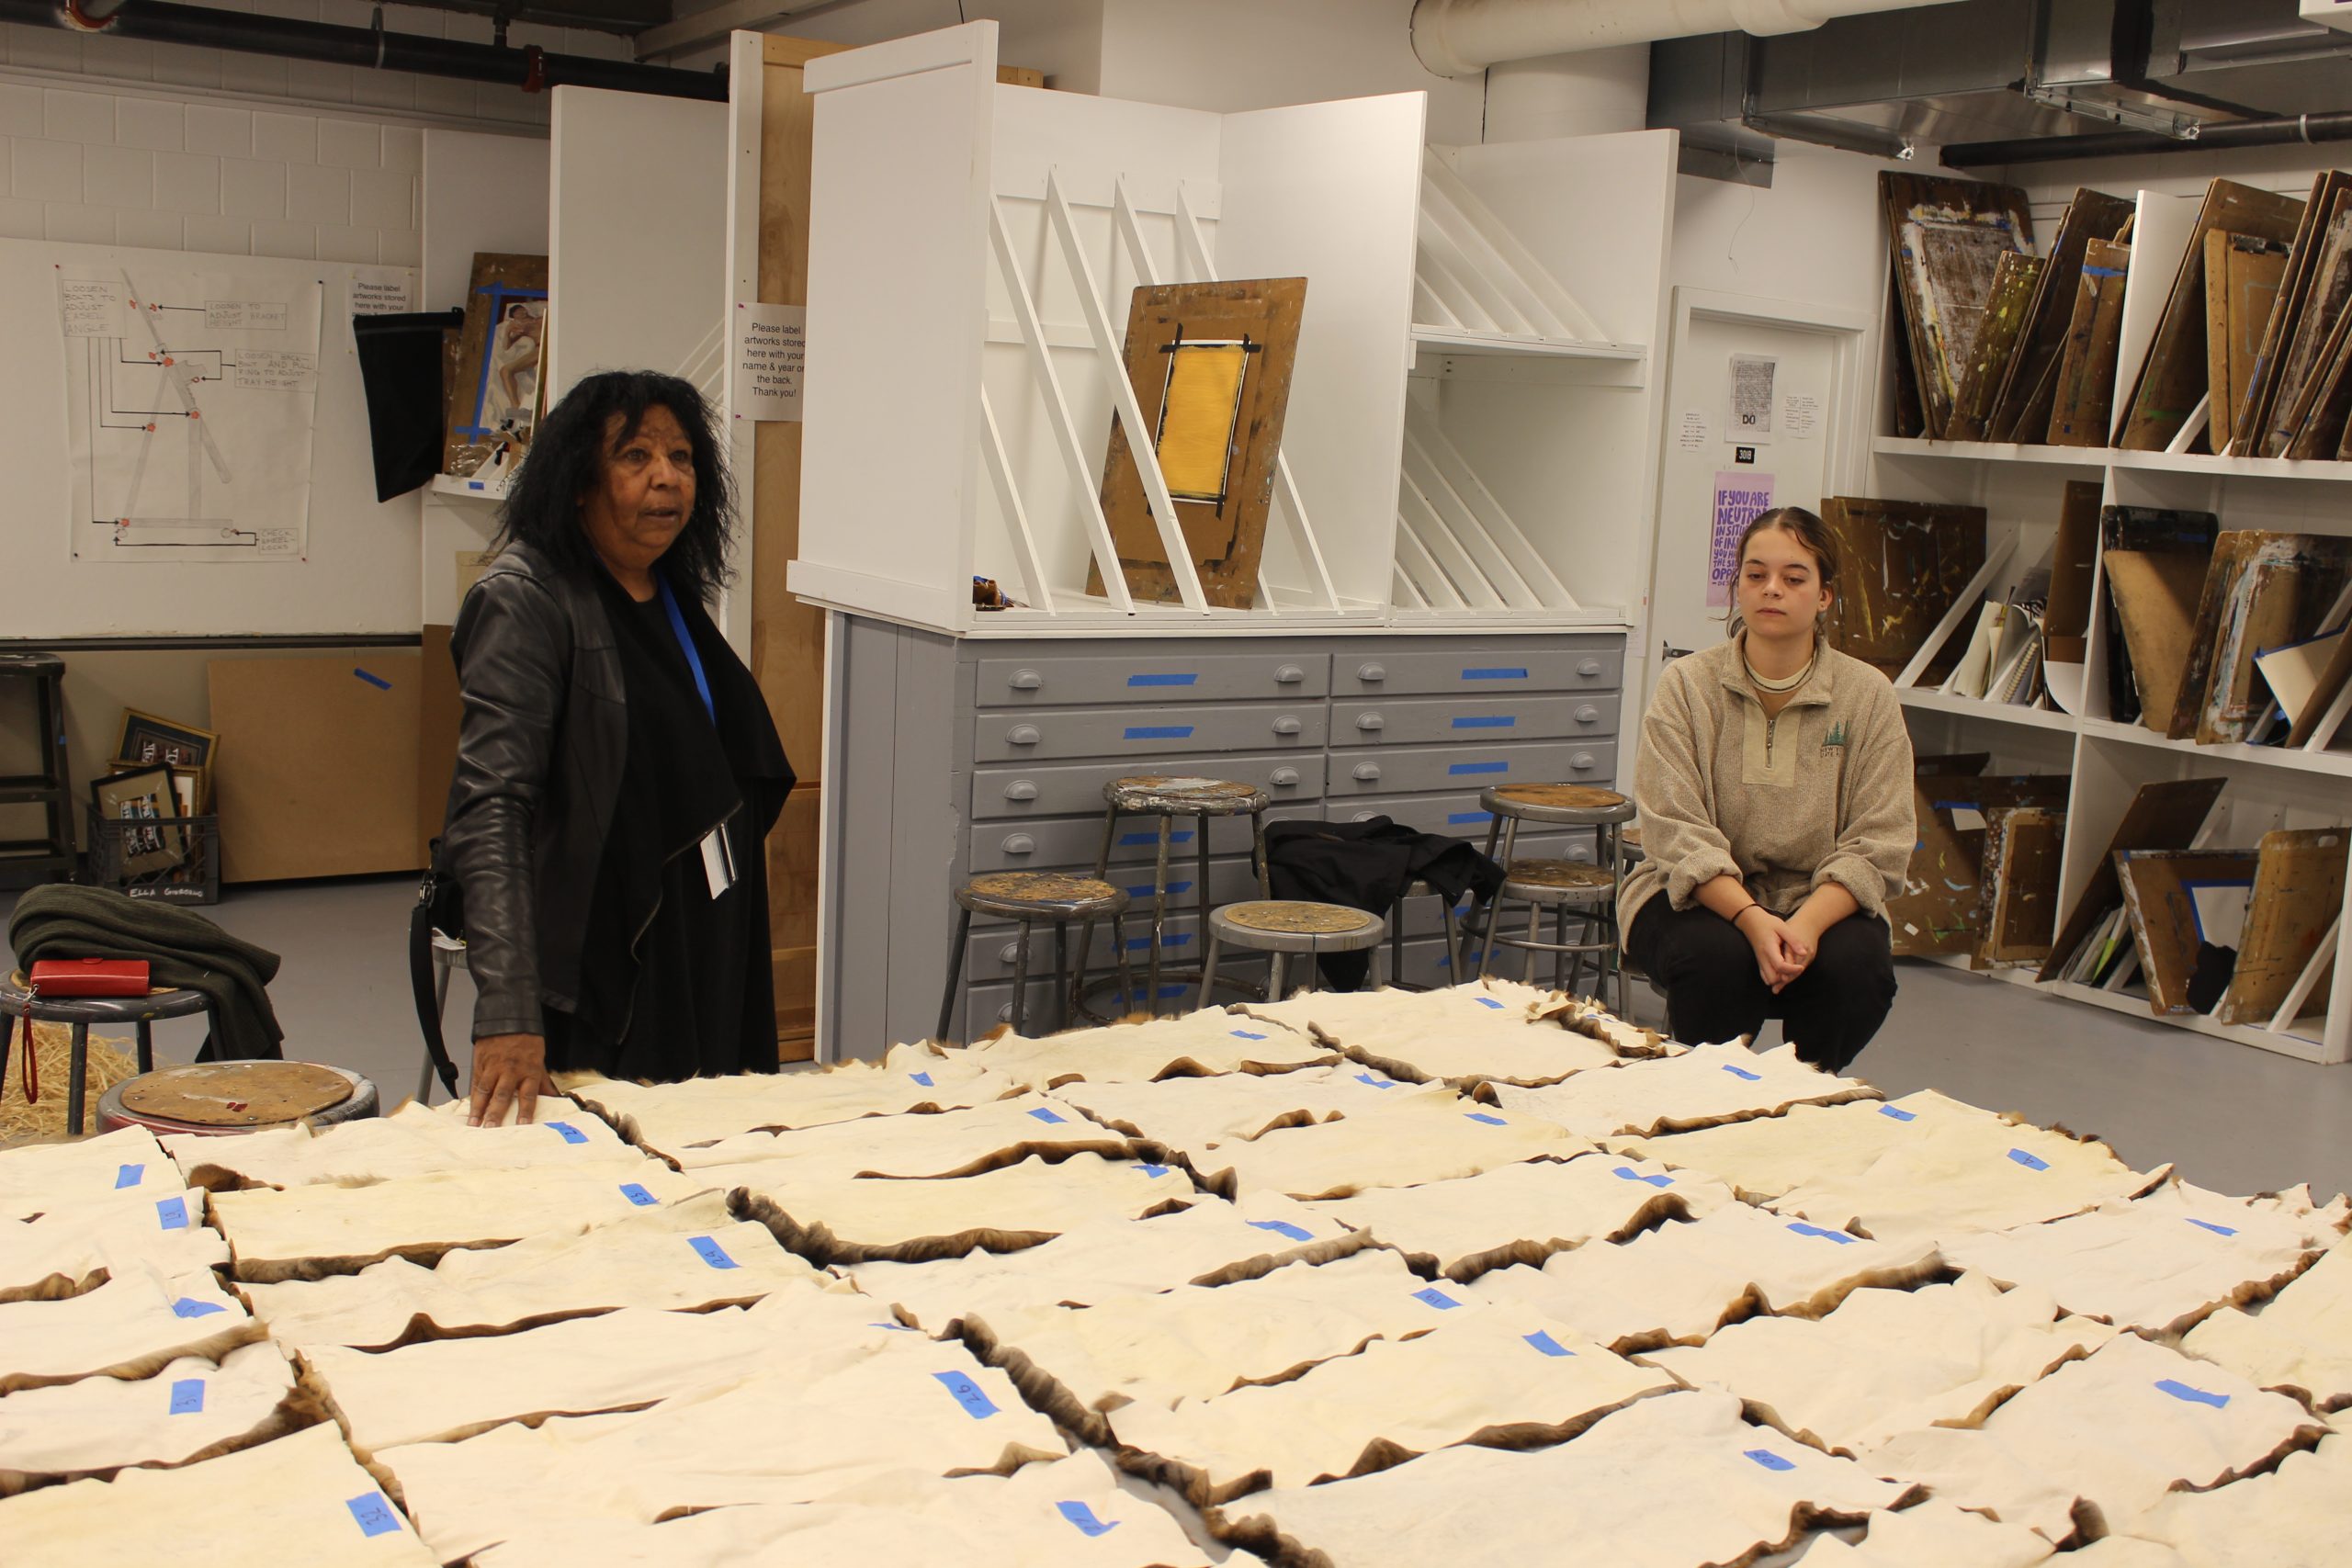
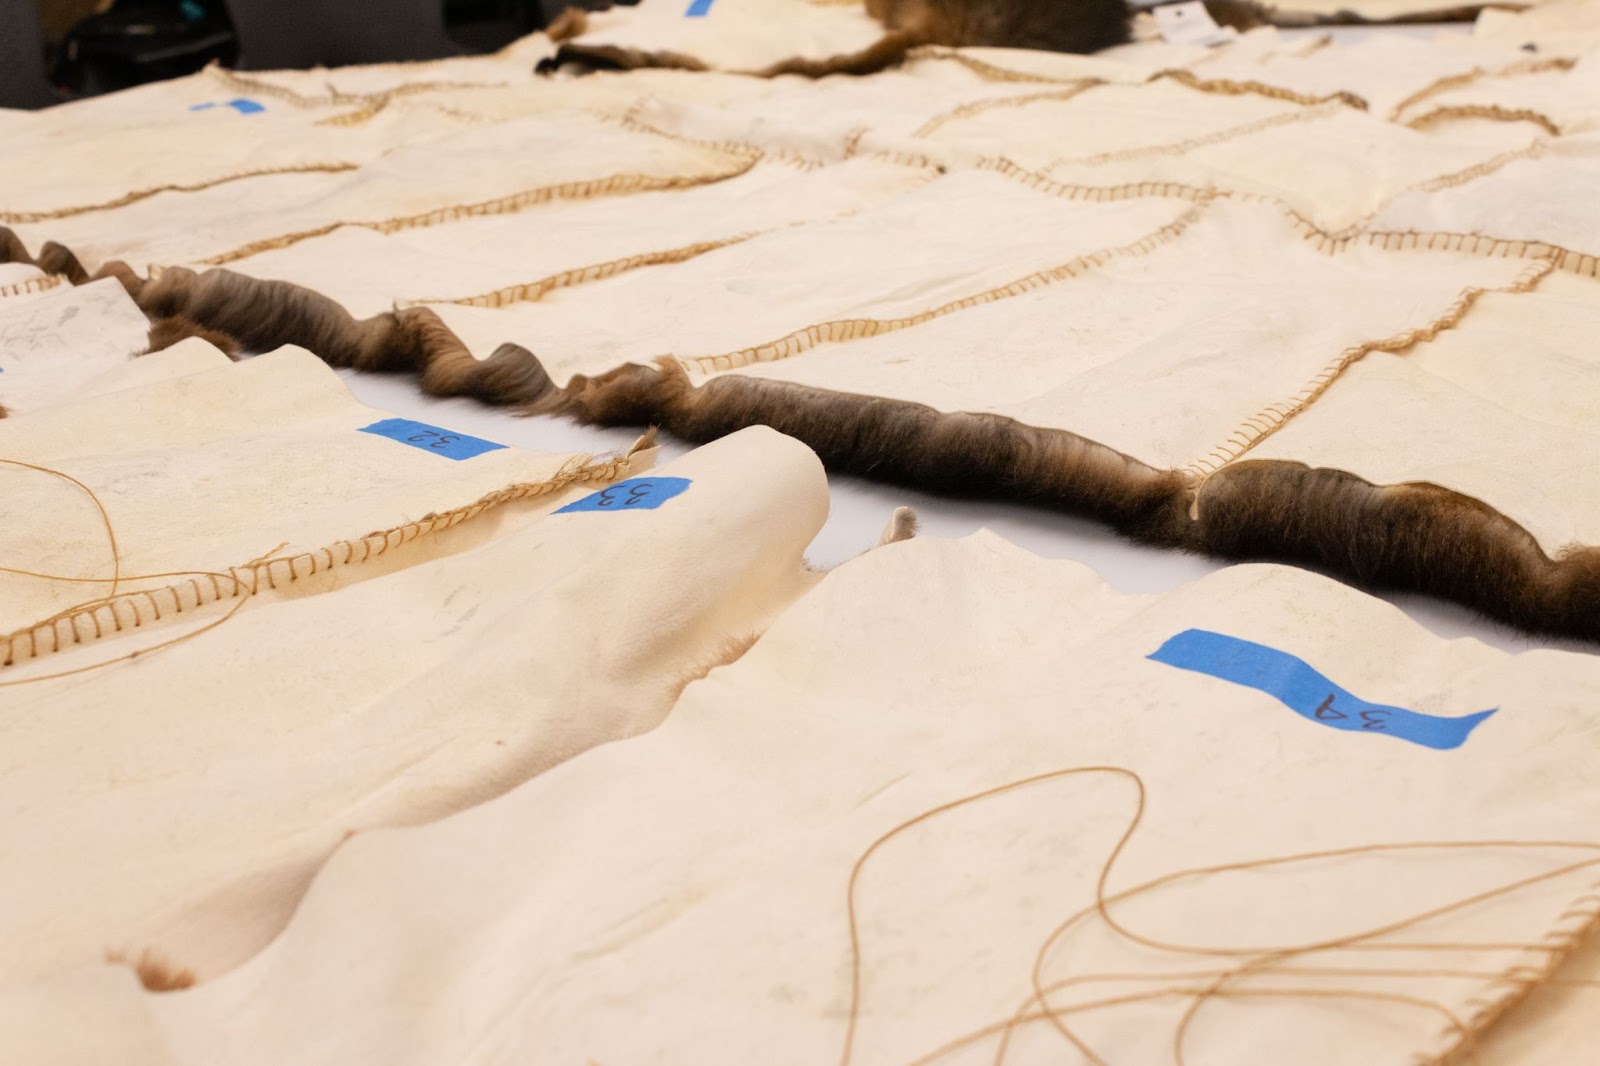
Arranged by size and quality, the artists utilized 40 possum pelts sourced from New Zealand, where the species is invasive. The pelts are chemically tanned, giving them a consistent surface texture and color.
During our first making session, the artists sorted through the pelts, deciding on a 8×5 grid pattern. Once the layout was agreed upon, the skins were labeled for organization and carefully trimmed into rectangles. Maree went over the entire cloak before sewing began, trimming any edges needed to create straight lines. The pelts located around exterior kept their raw edge, giving the cloak an organic shape.
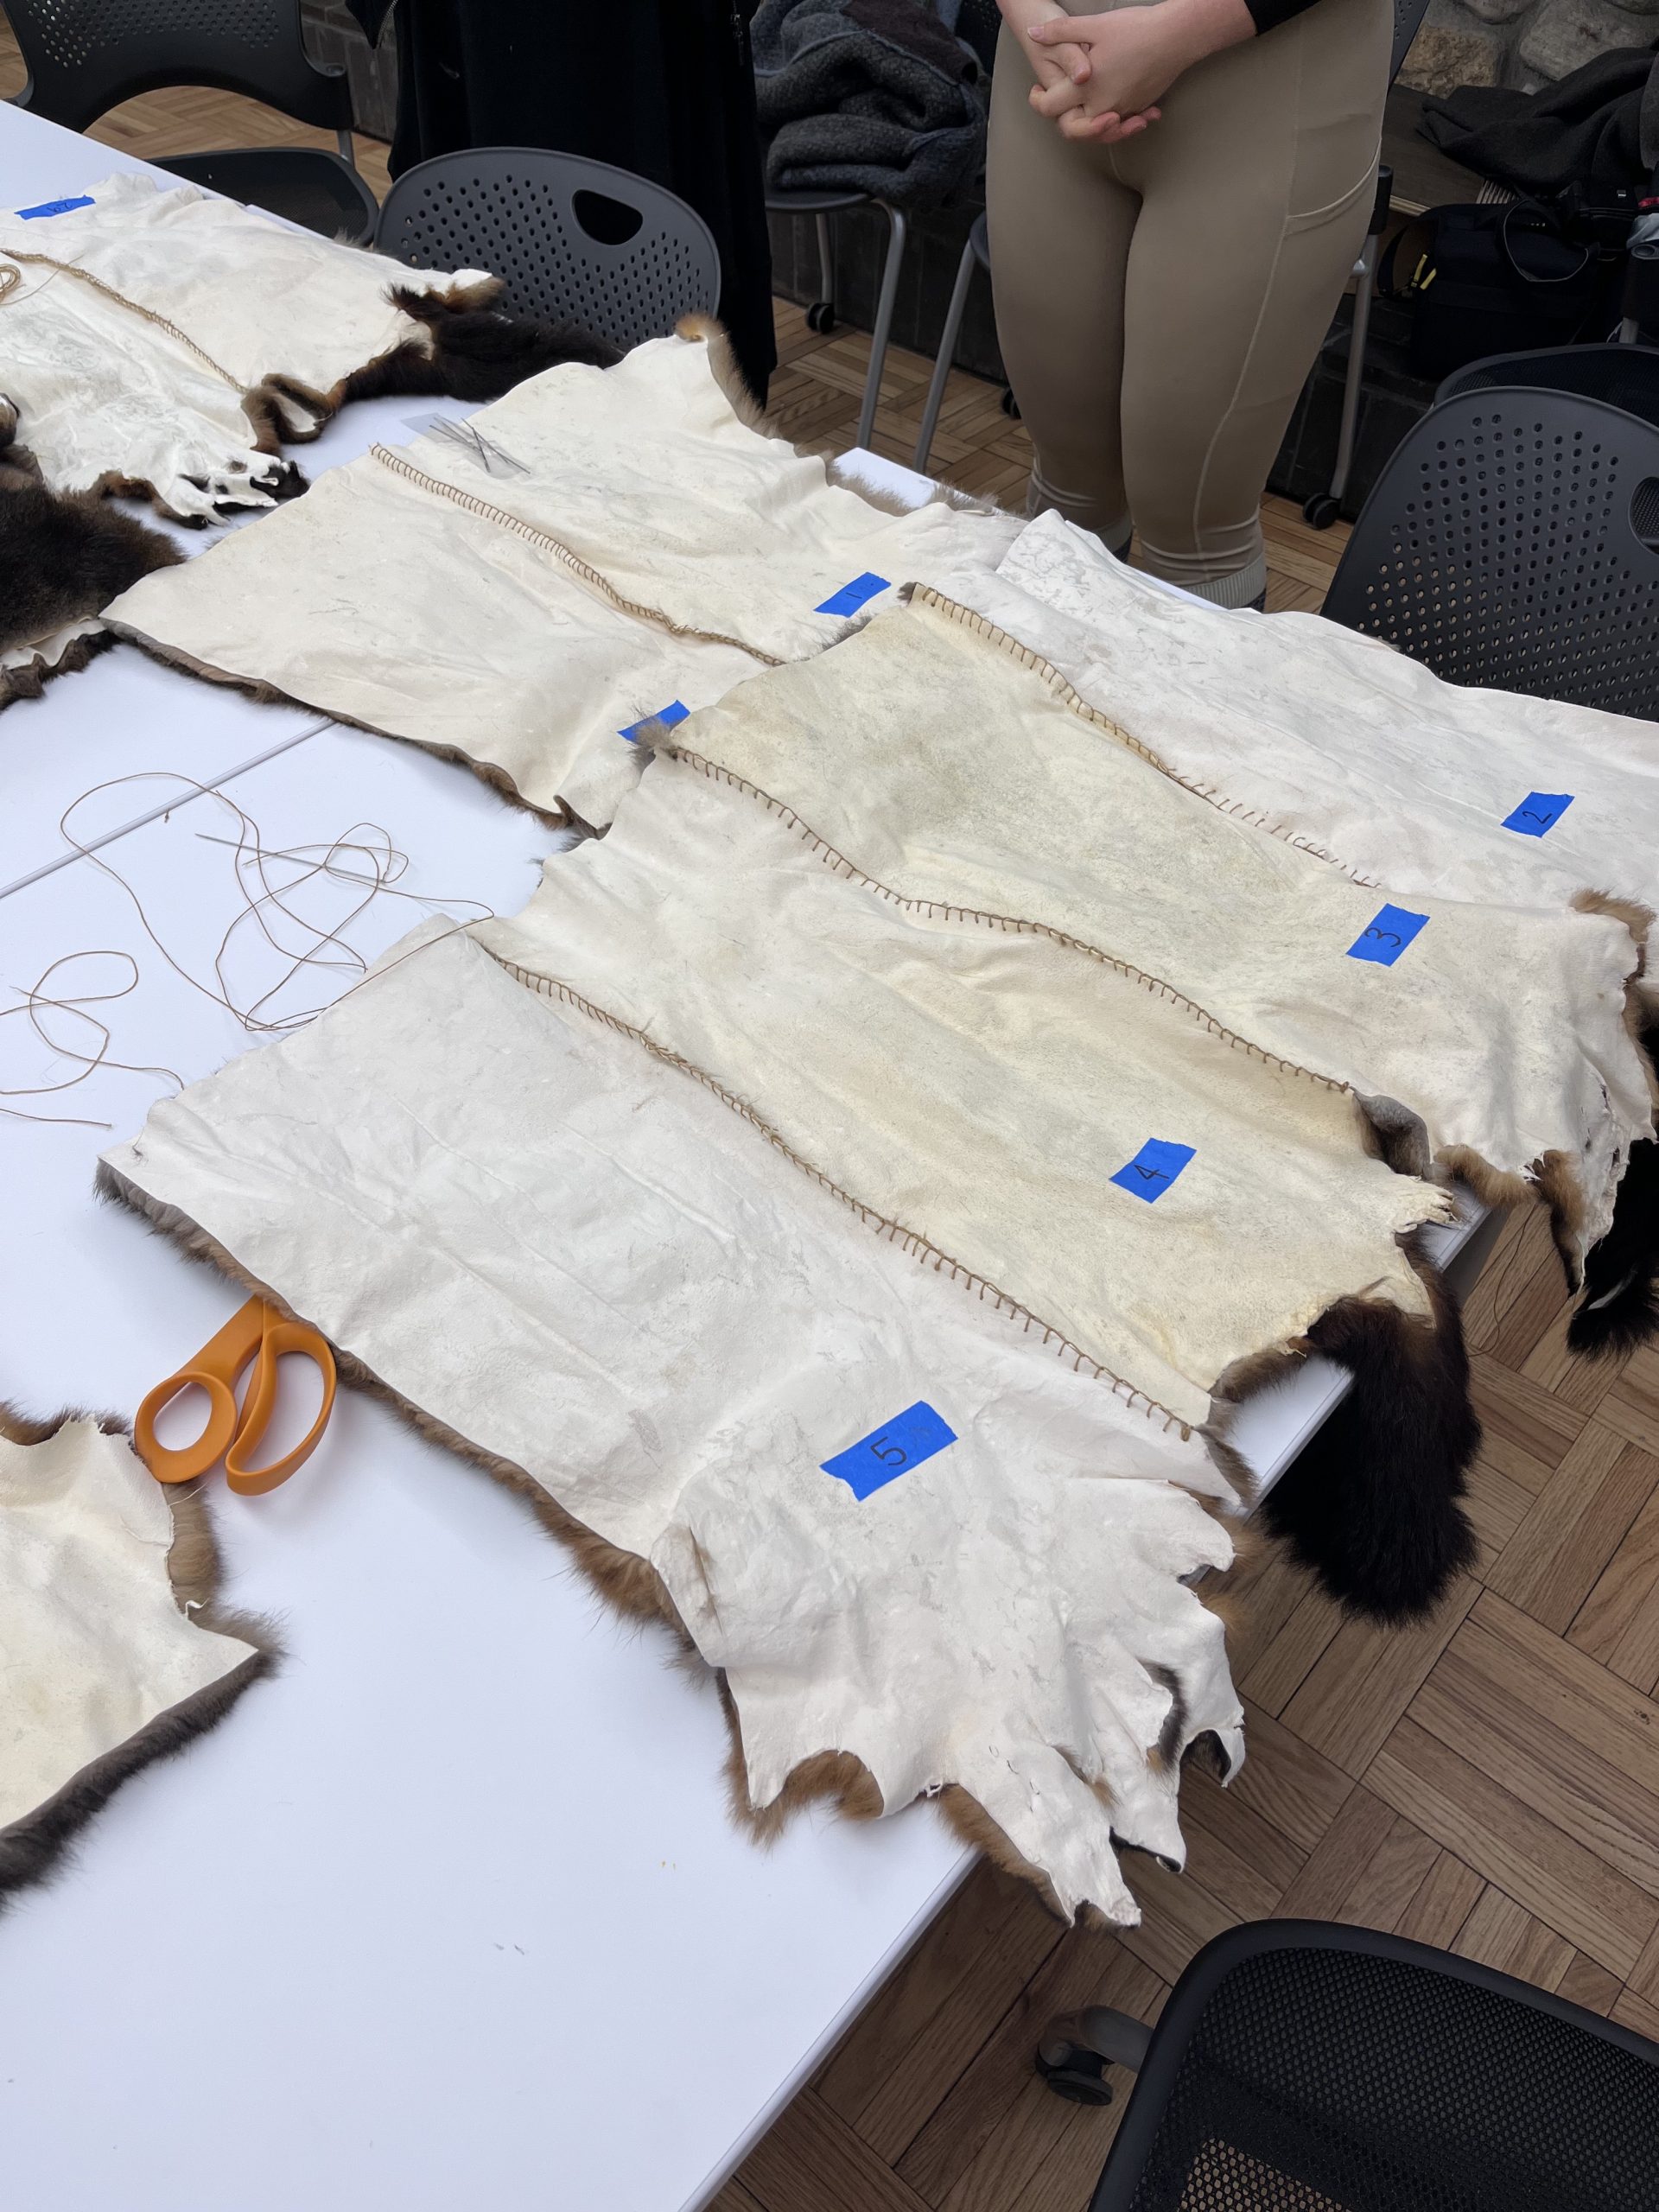
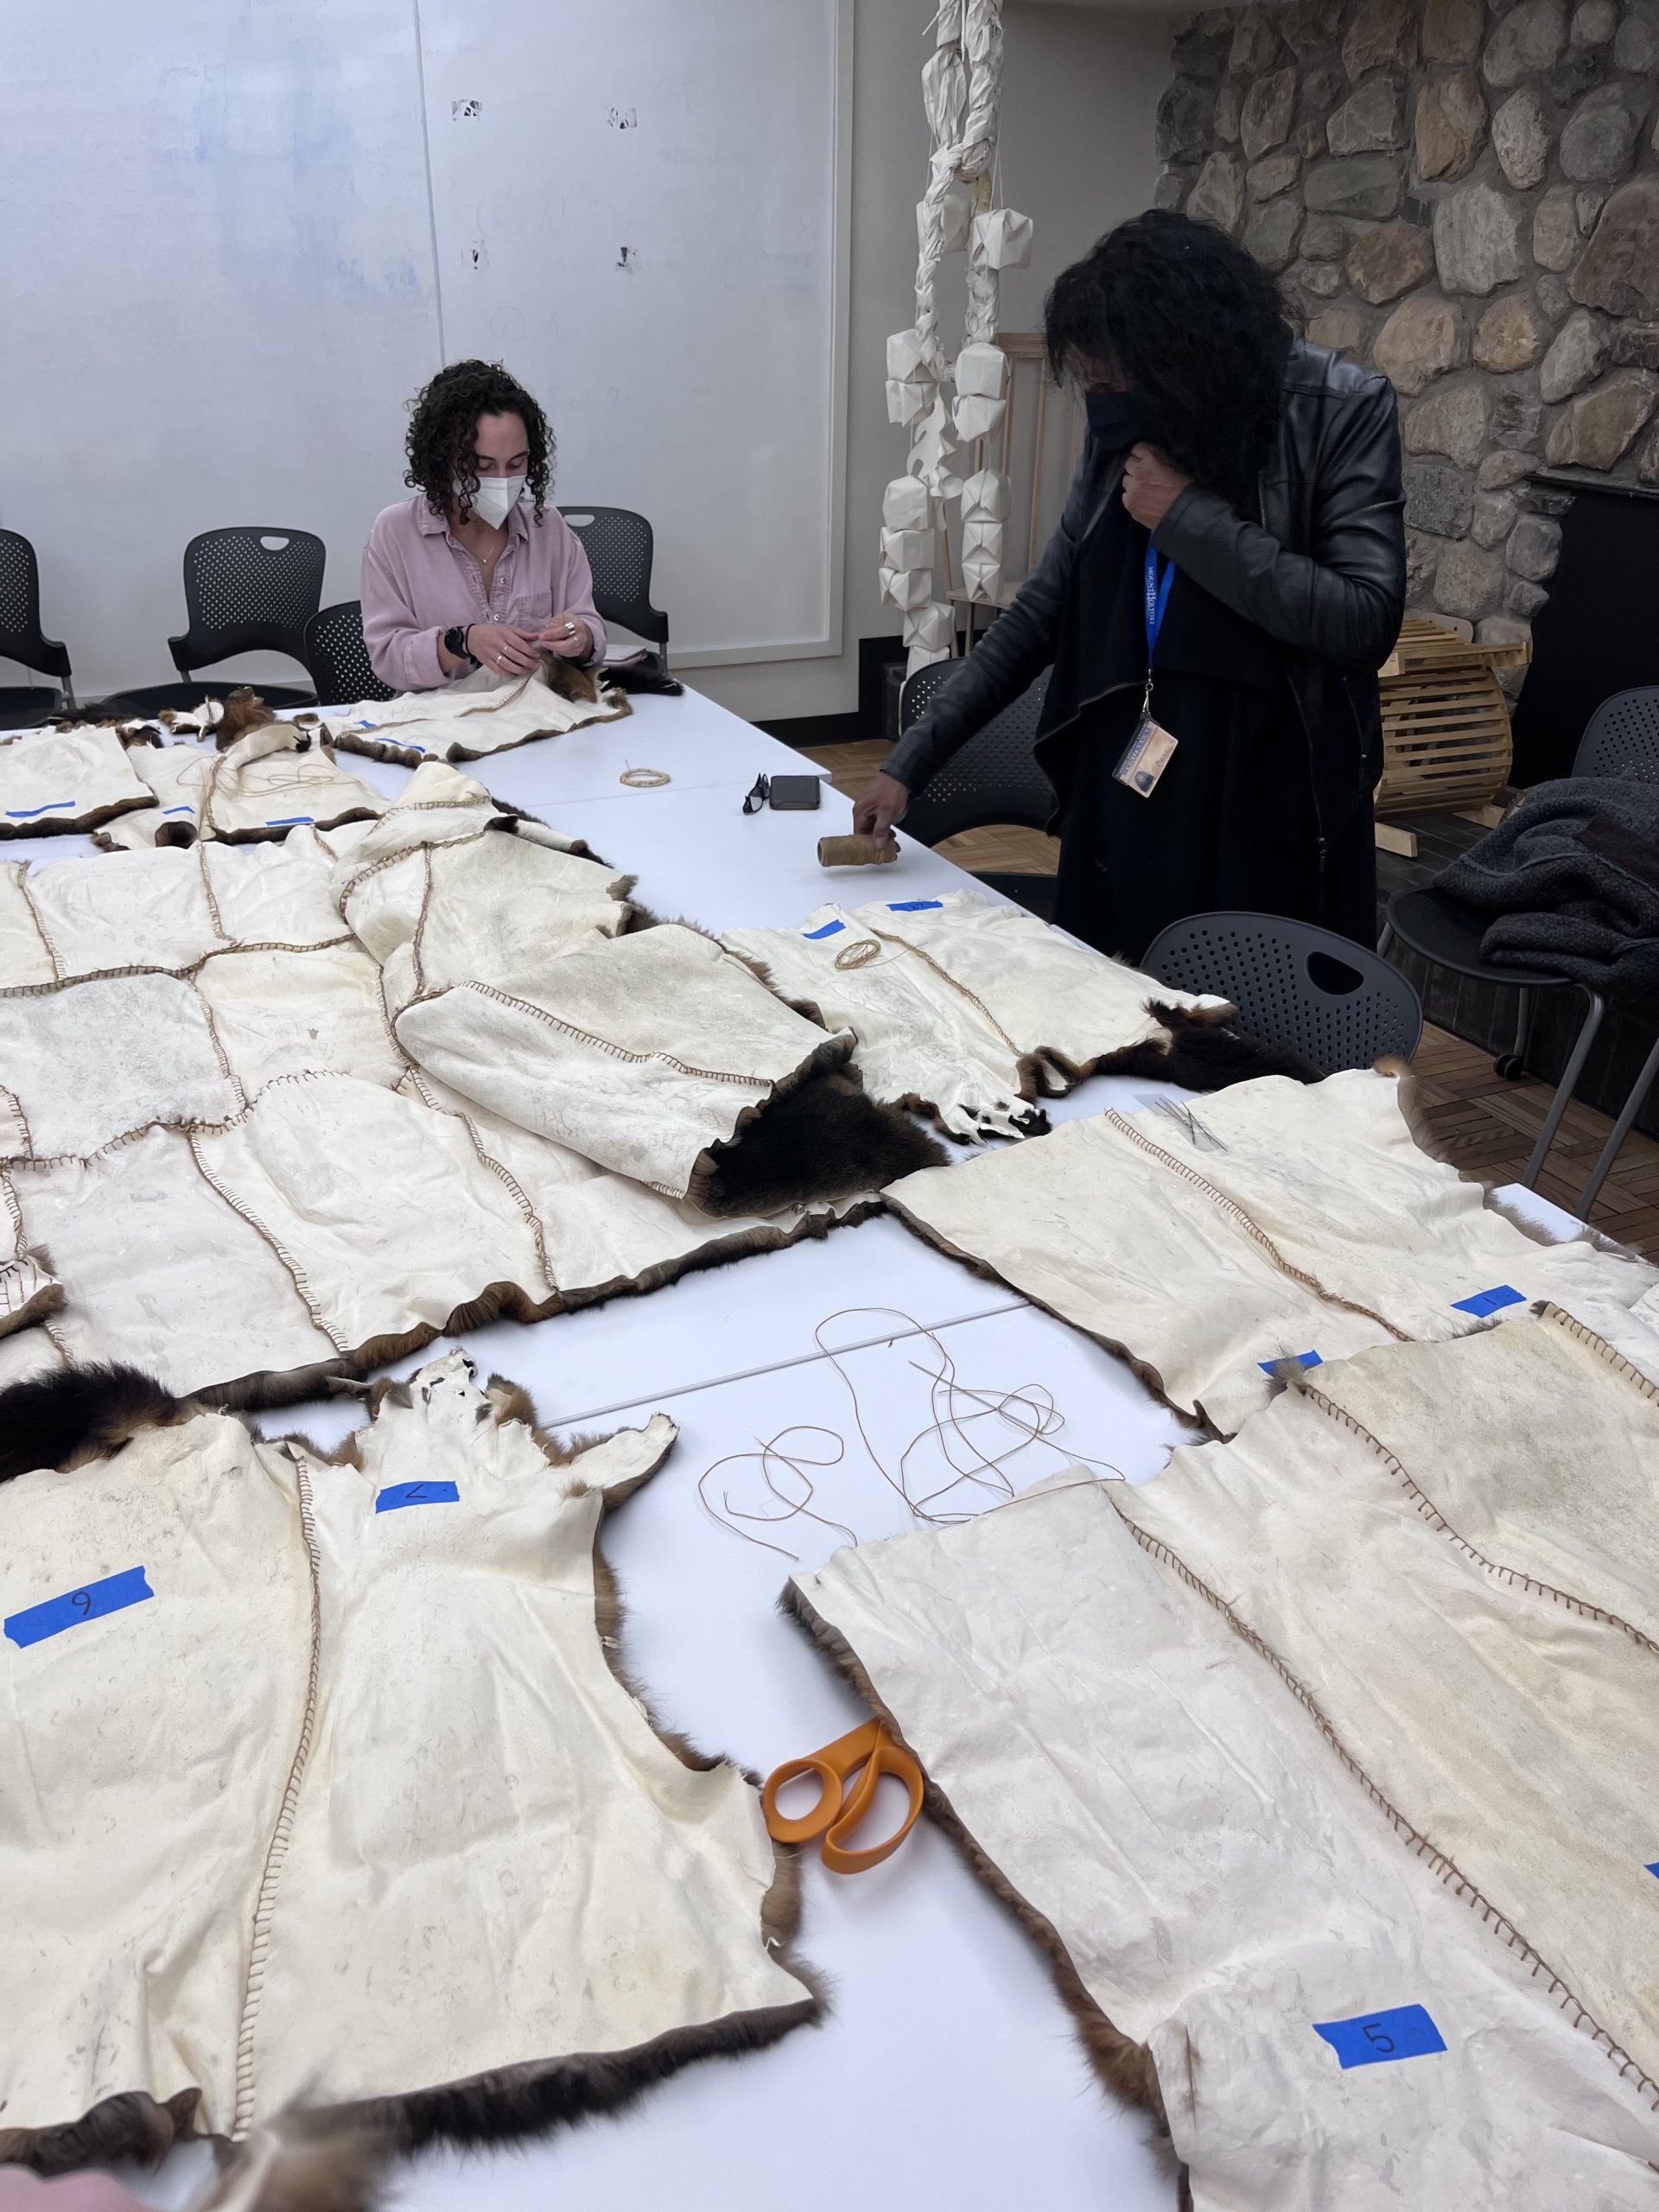
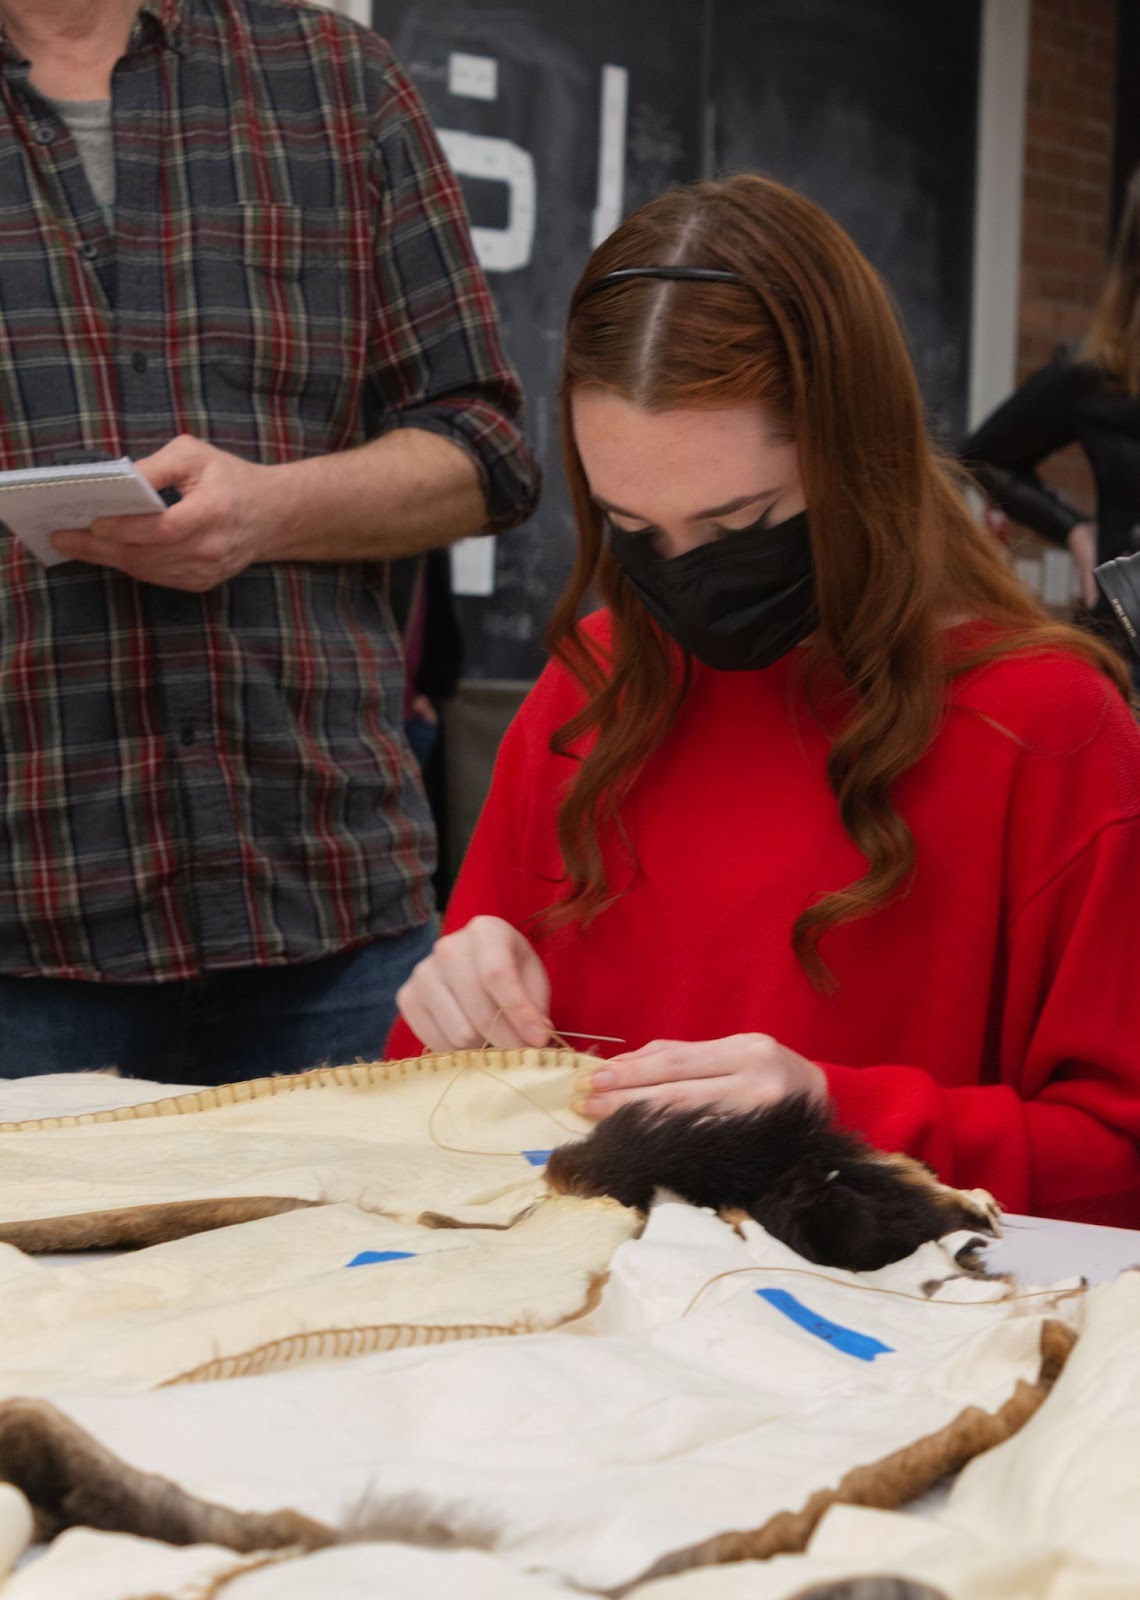
Sewing Pelts
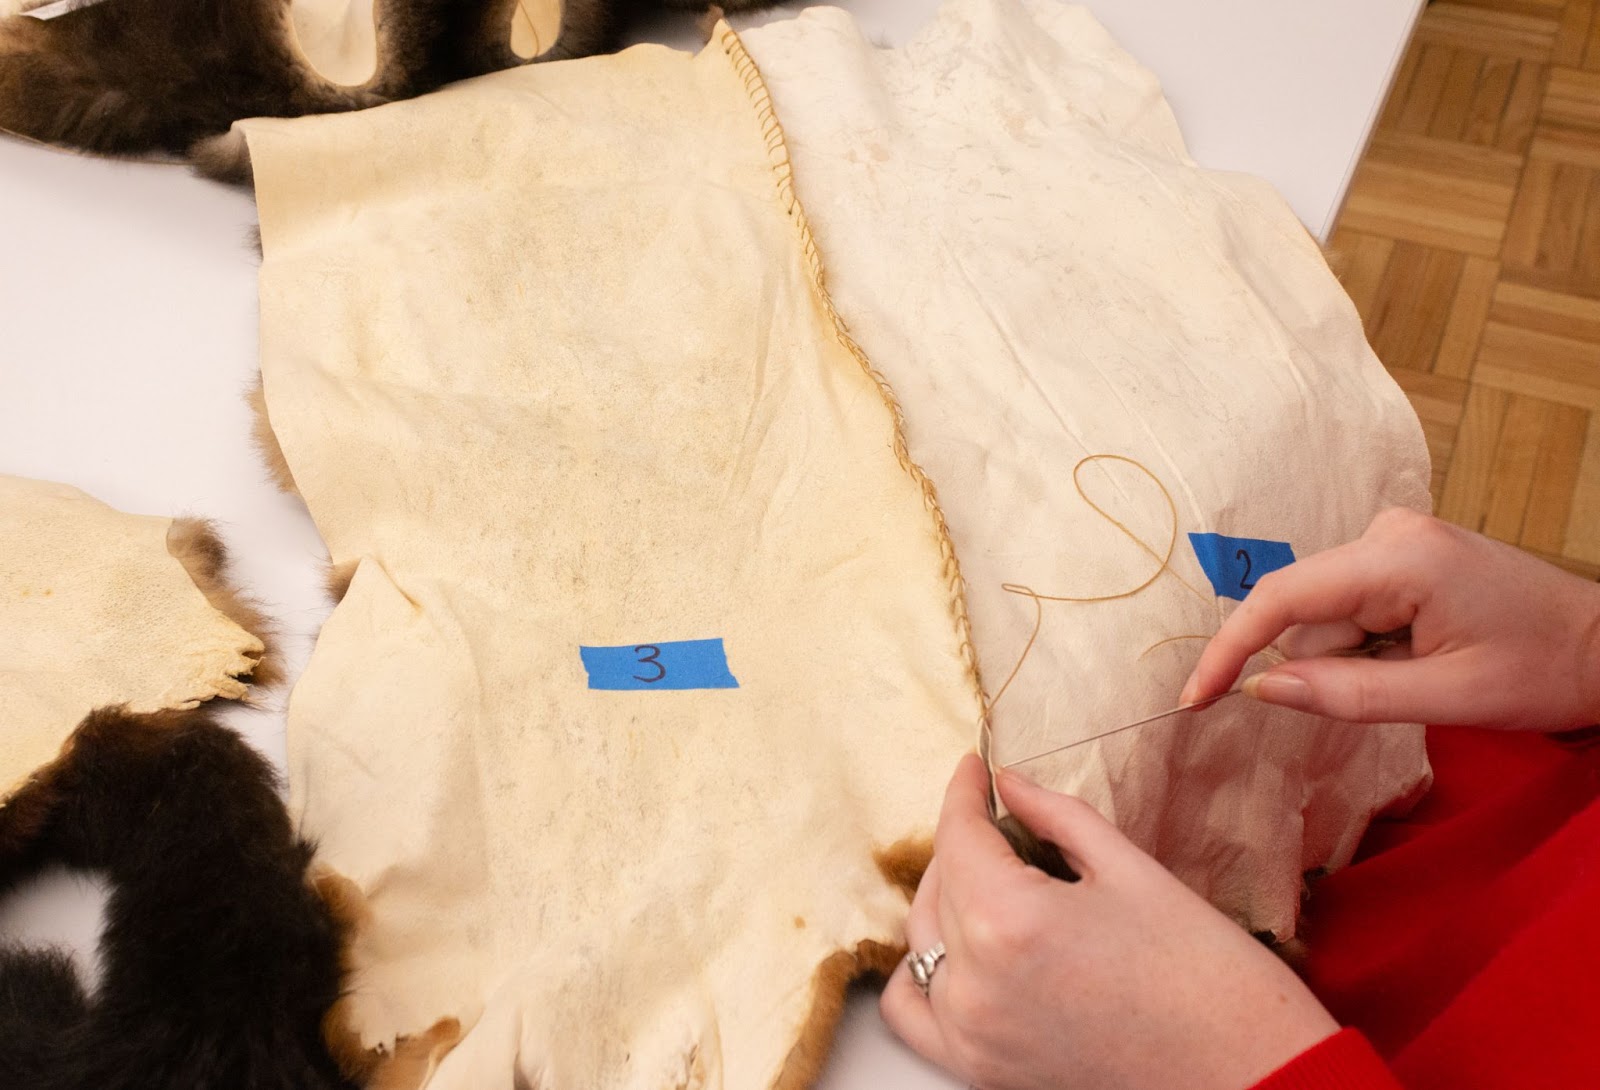
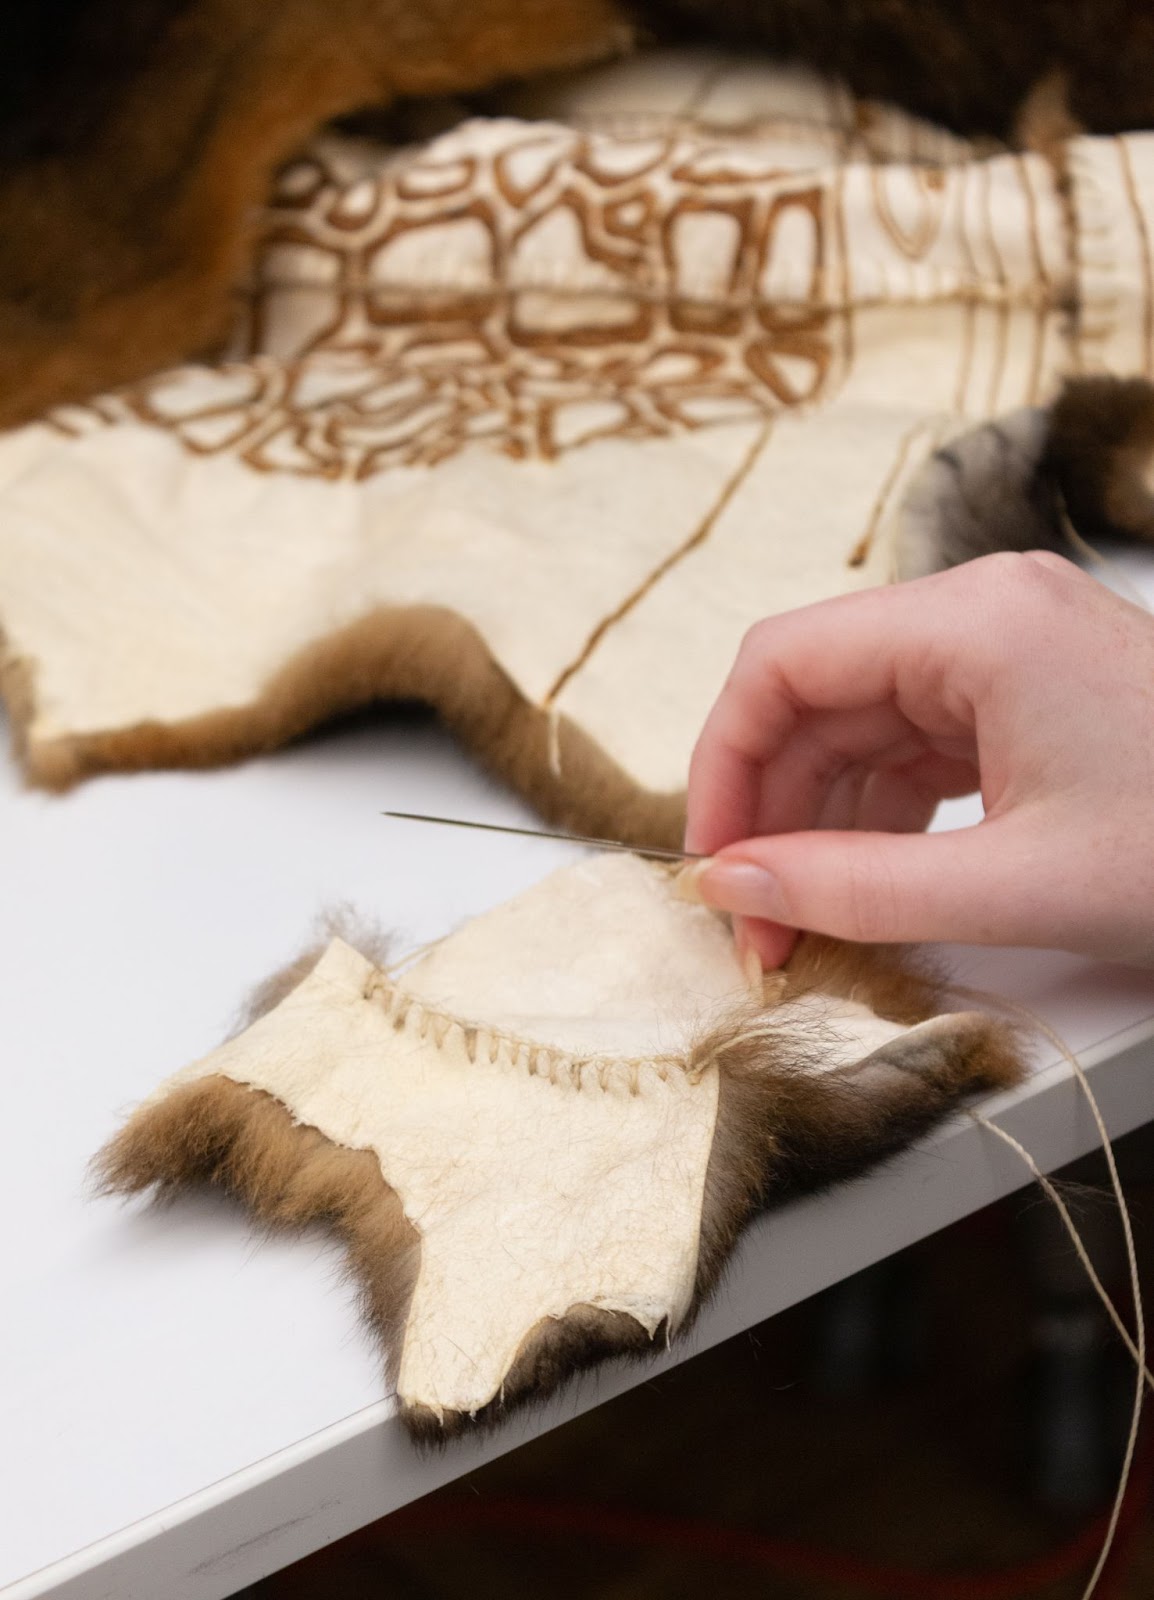
During our second making session, the sewing process began. Utilizing a heavily waxed string, the artists create a blanket stitch to affix the delicate possum pelts together. Long darning needles are used to push the waxy string through both sides of the pelt, creating a consistent stitch on the skin side of the possum pelts.
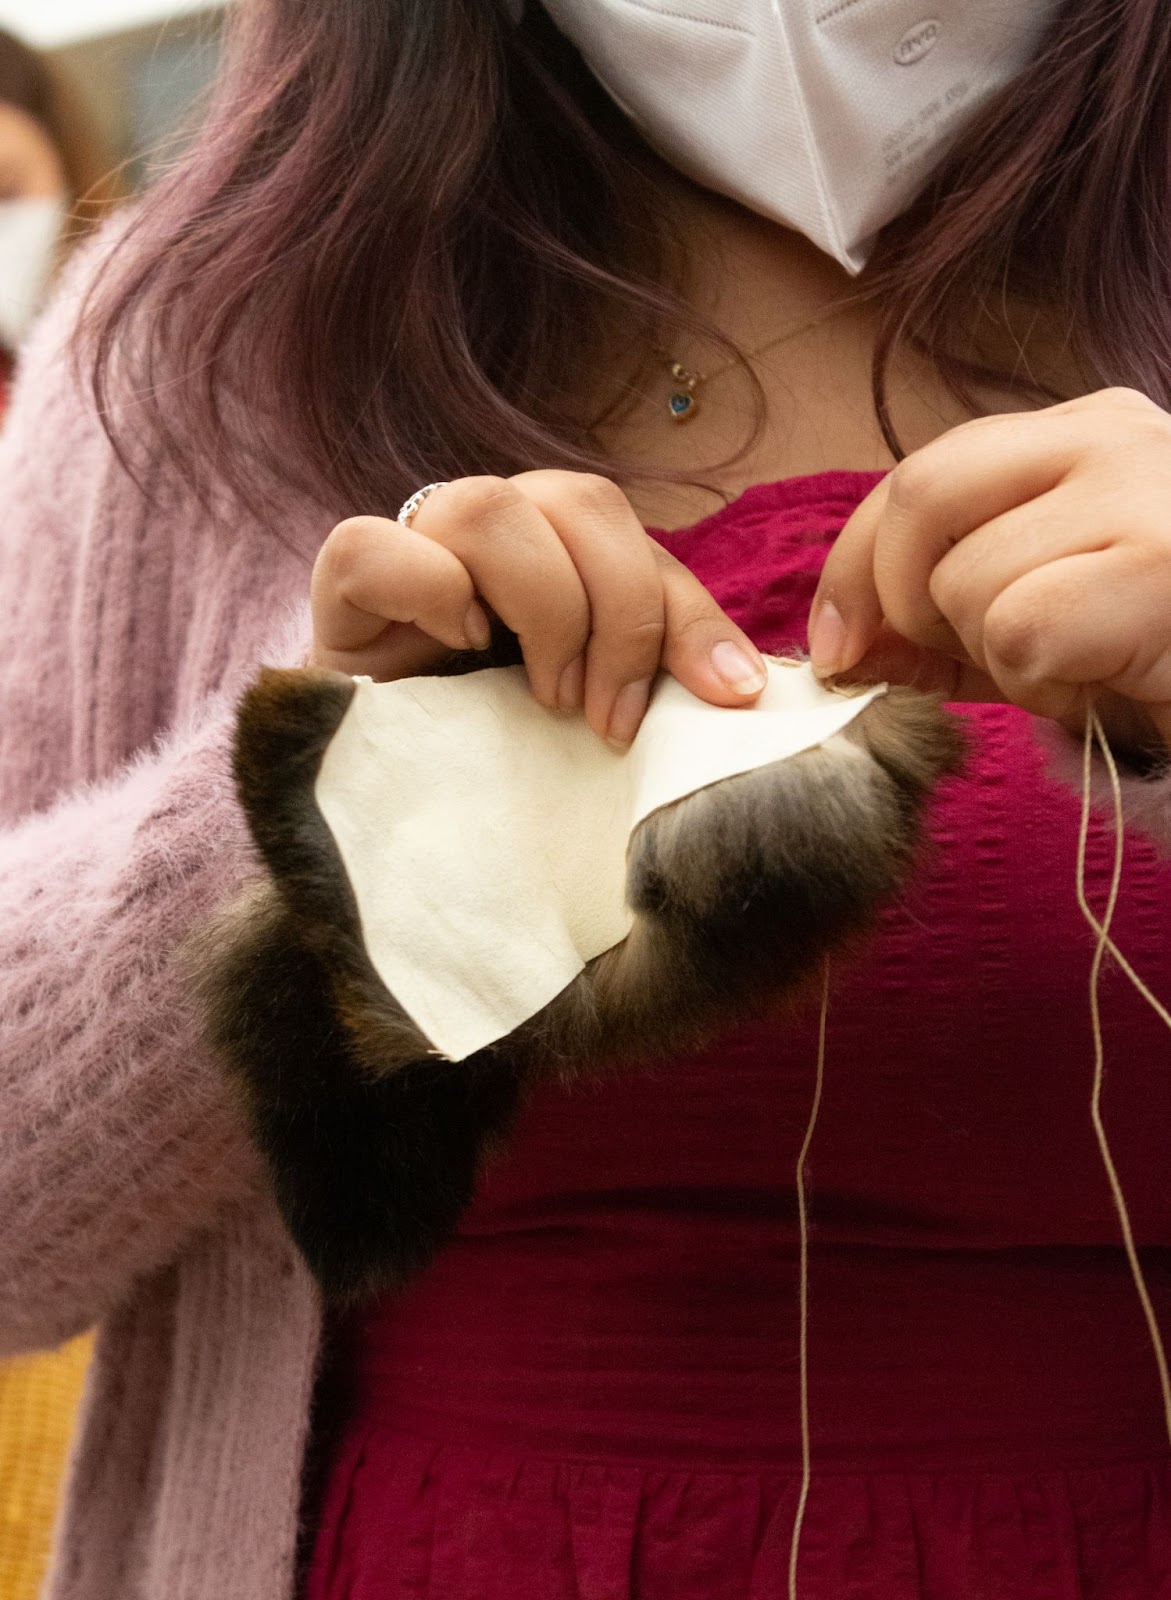
In class, Molly Mahoney taught students to sew a blanket stitch on leftover off-cuts of possum skins. Sewing together two pieces of pelt, students had the opportunity to engage with the material process that transforms a pelt into a canvas. Some students were invited to contribute to sewing the cloak under Maree’s direction.
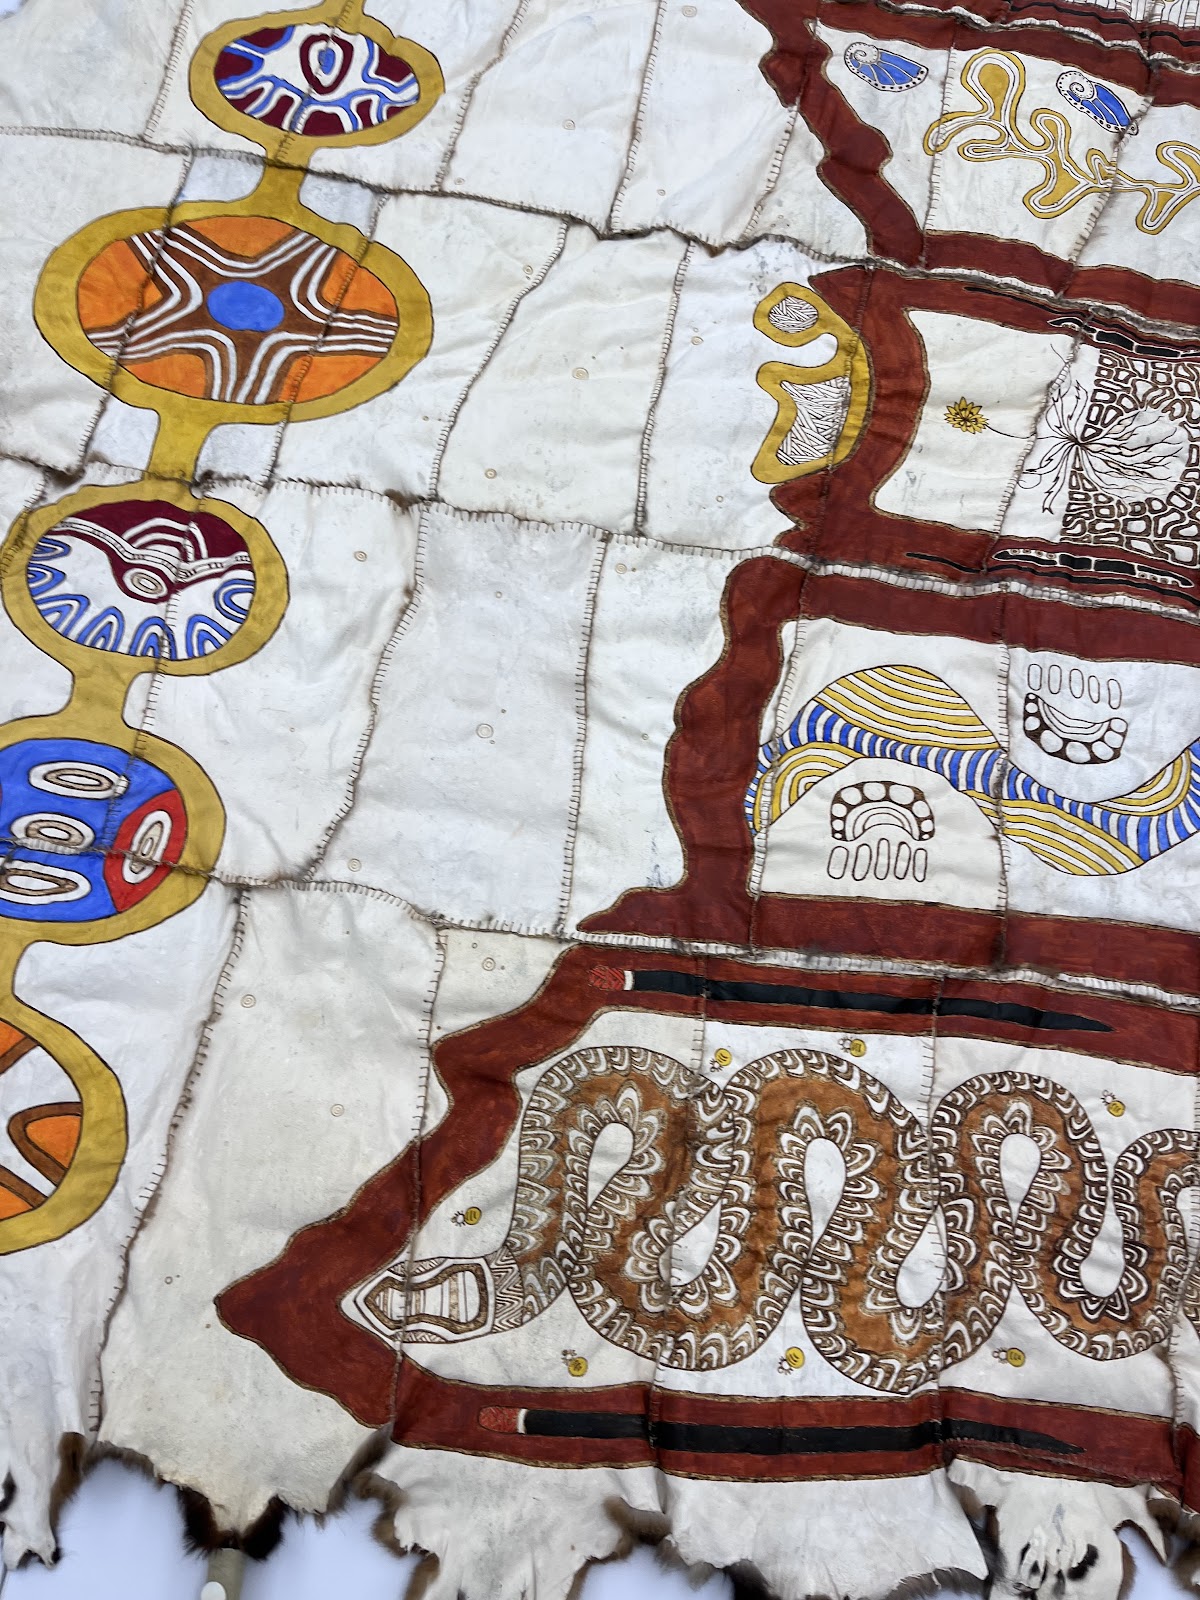
Mitch Mahoney led the design work, gathering the stories that the artists wanted to represent through the cloak. Drawing on his knowledge of Aboriginal motifs, Mitch helped to translate the stories that the artists collectively chose to represent on the cloak. Drafting the design on large sheets of butcher paper cut to mimic the shape of the cloak, the pattern was spatially mapped, allowing for the artists to rework the design components.
The design process represents the collaborative exchange of knowledge and stories, as the artists work to gather and depict ancestral stories in physical form. Many components of the cloak pattern were reworked into the final stages of making, allowing the artists to consider the composition, placement and representative meaning of each design component.
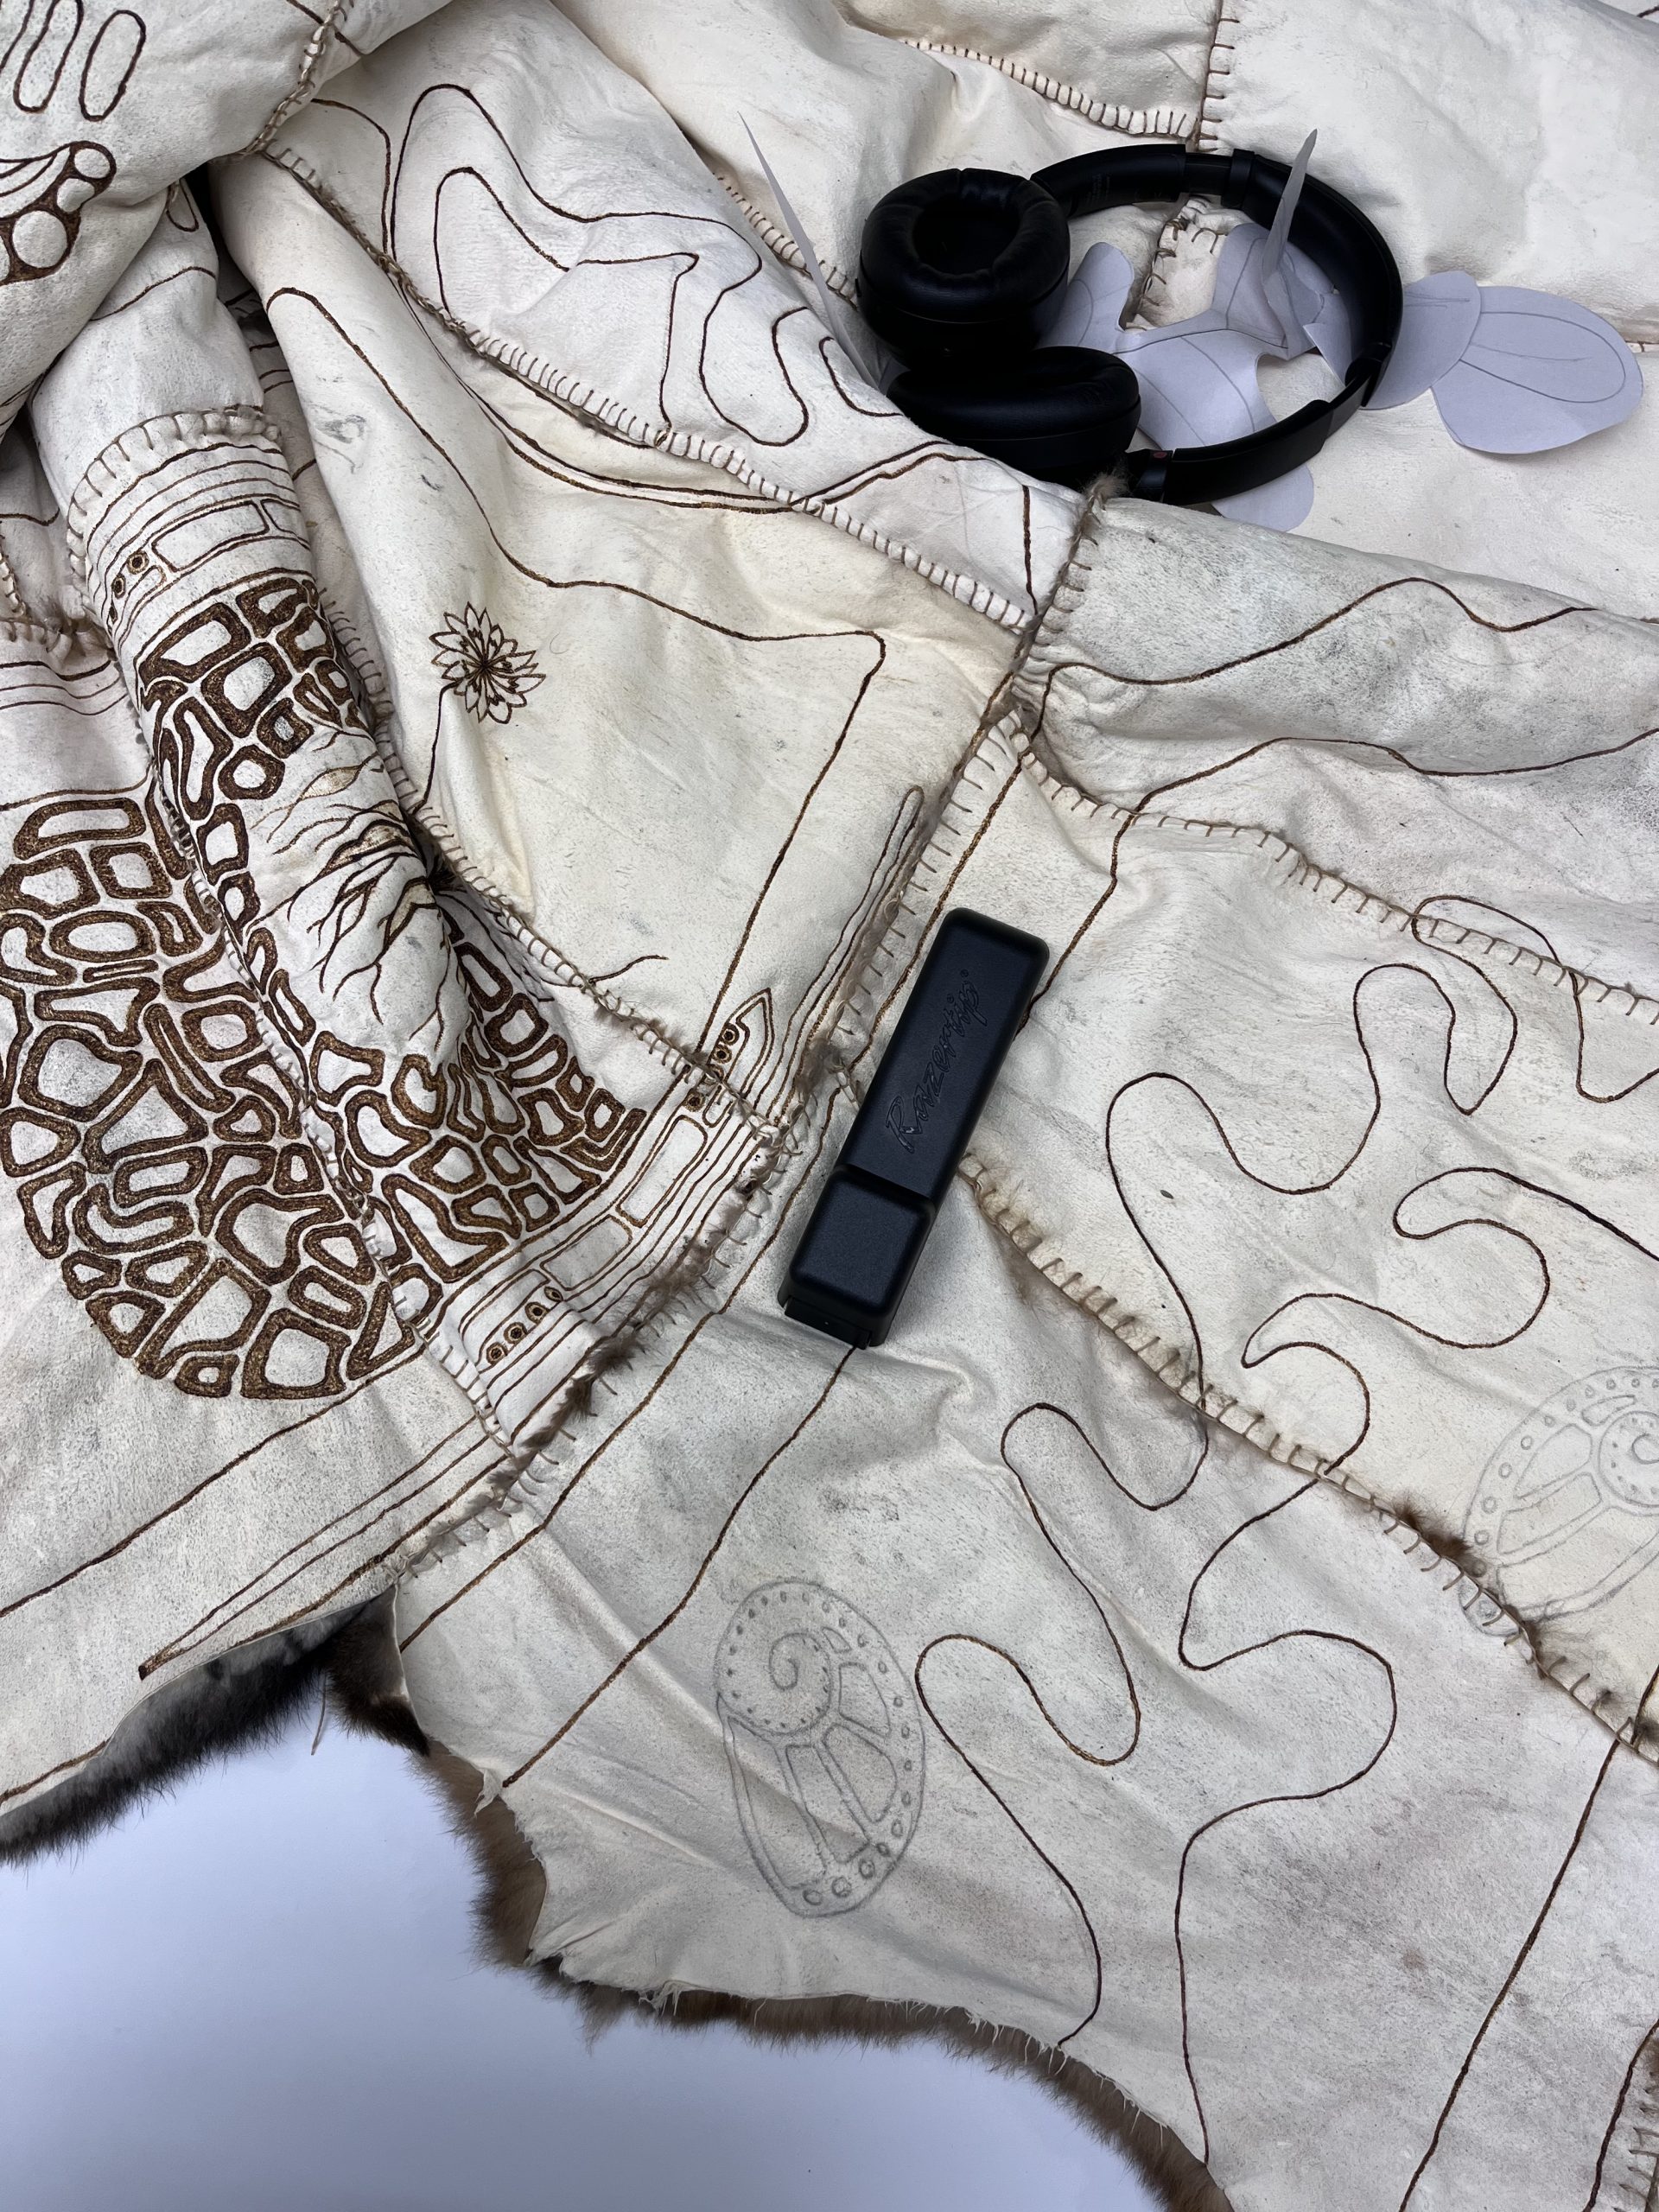


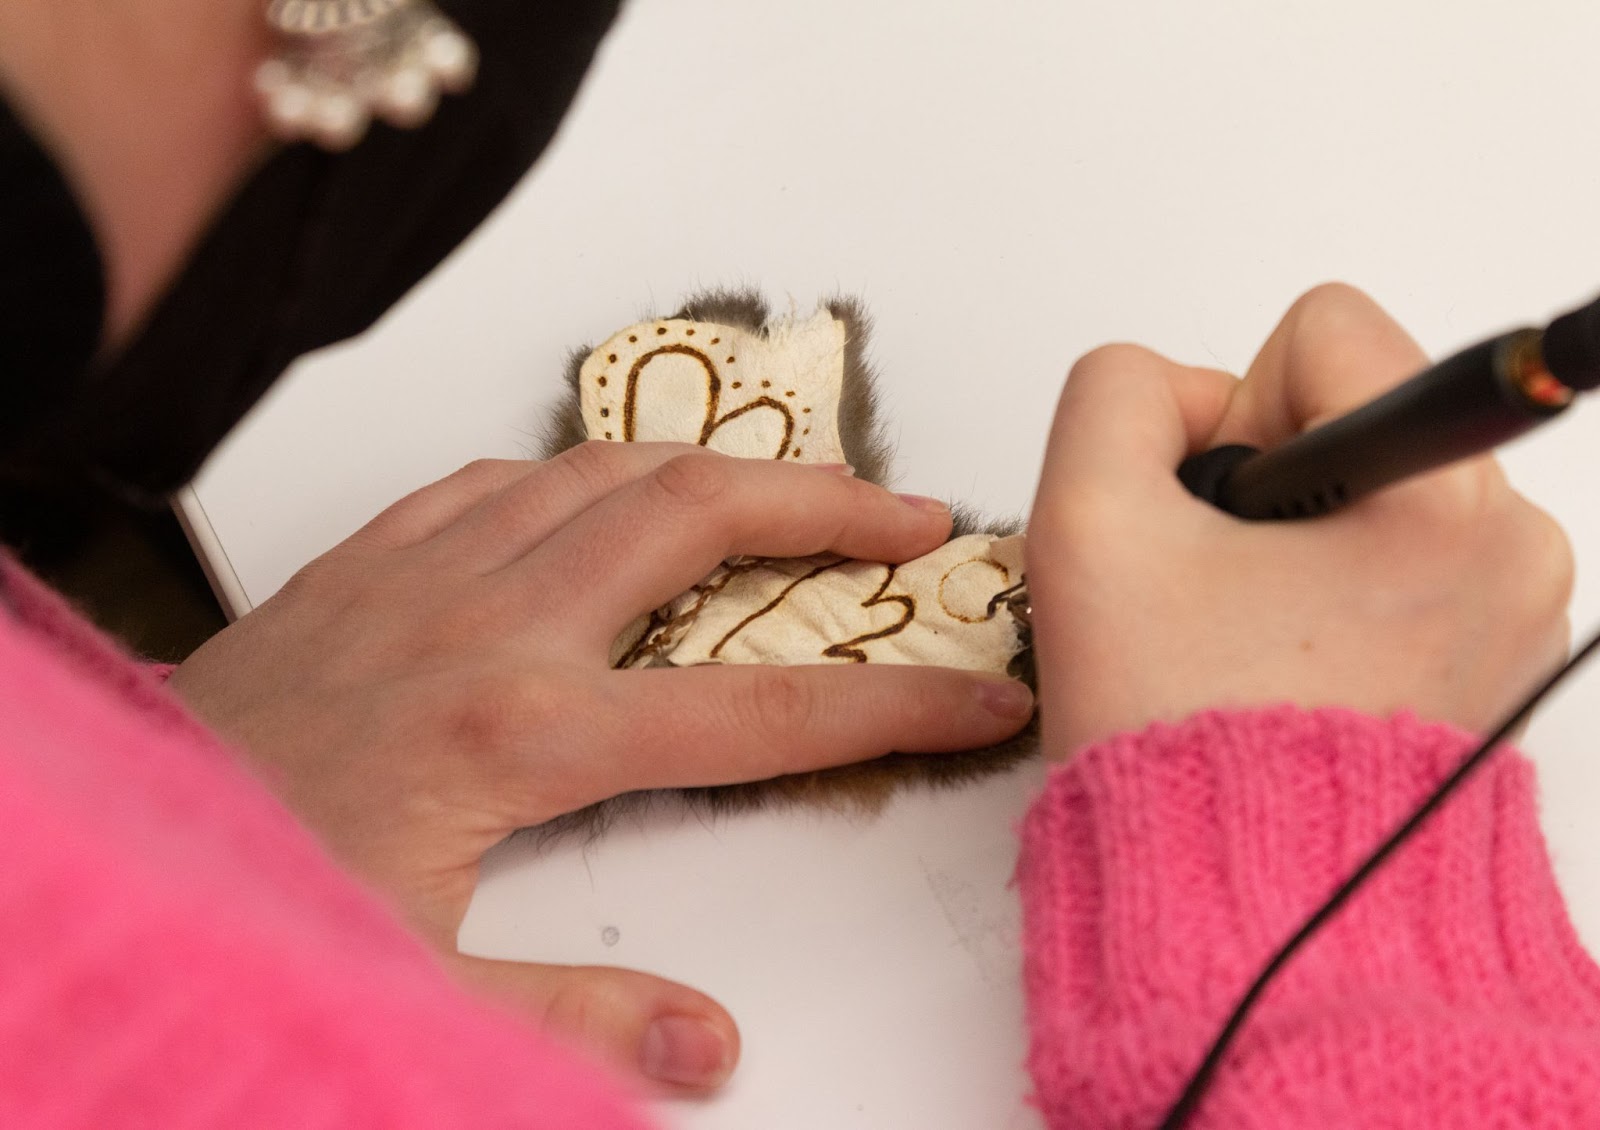
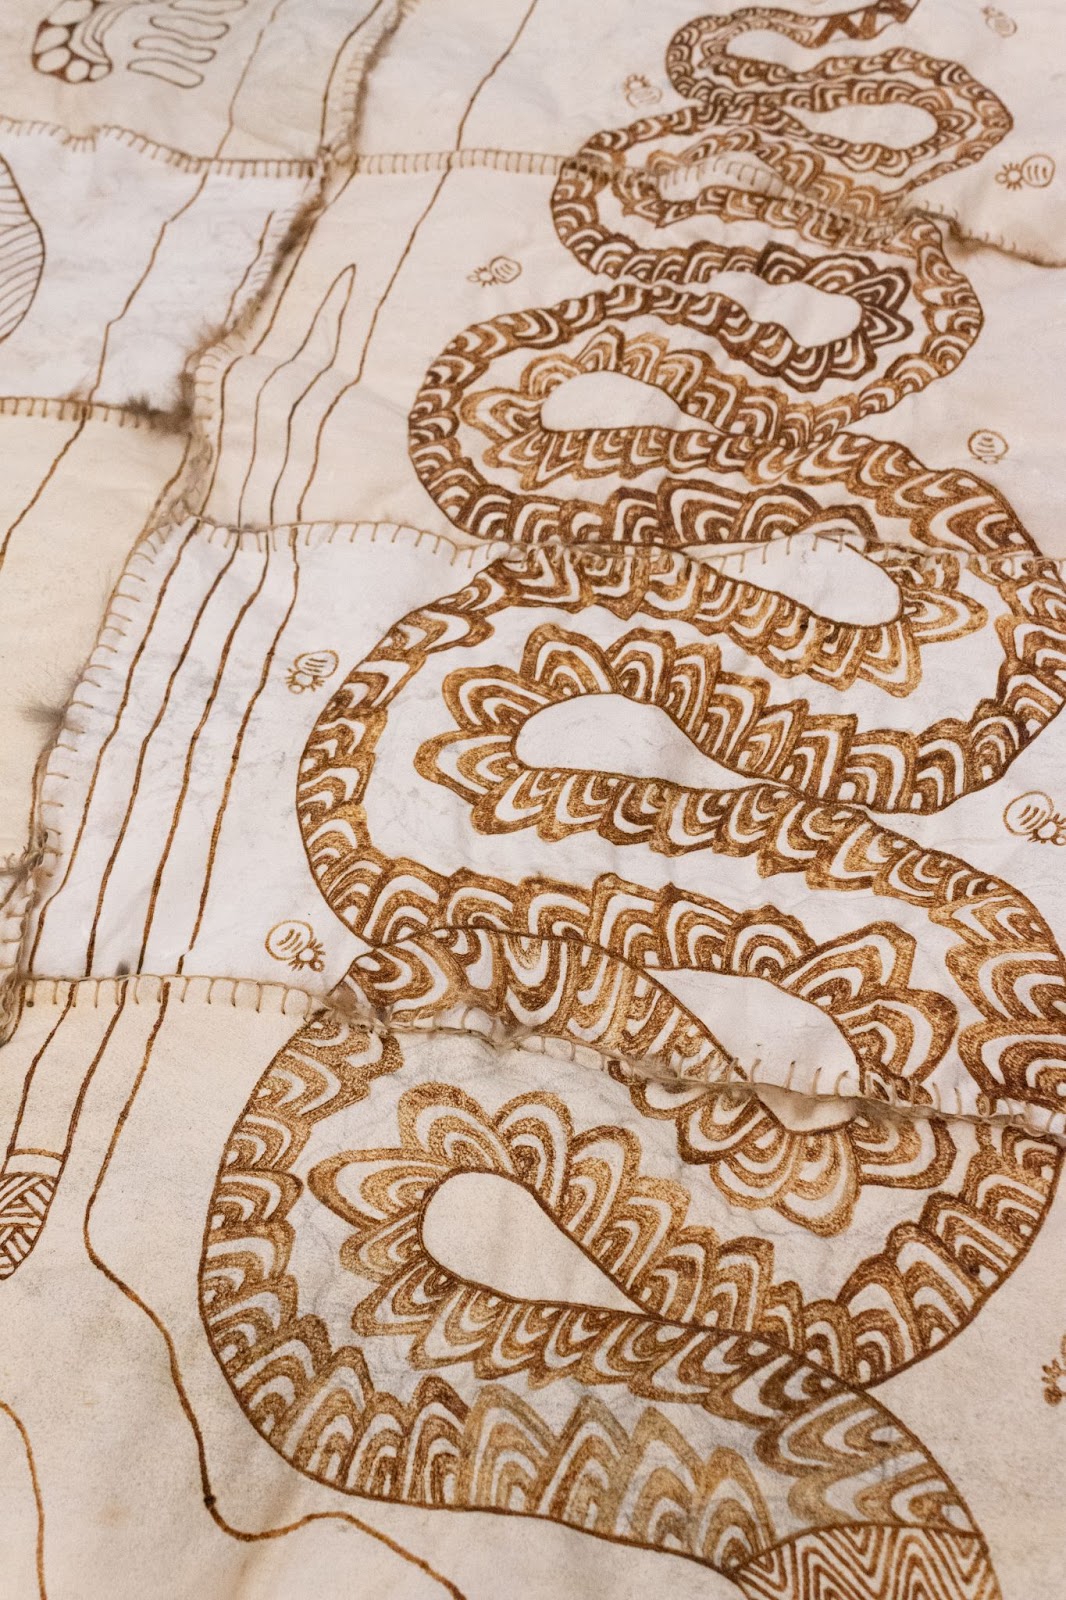
Burning began during our second class session, where the artists introduced the pyrography tool they use to burn the designs into the possum skin. The tools, which are typically used for wood burning, emit a steady heat through the metal tip of the burner.
Traditionally, cloaks would be treated using an Indigenous tanning method that allows for the preservation of a thin layer of surface fat. This layer would allow for designs to be scratched into the surface of the pelt using a heated kangaroo bone awl. Outside of class, the artists transferred the pencil designs from the paper pattern, following the pencil lines with the burning tool.
After sewing together small pieces of possum pelt, students were able to burn designs onto their pieces in order to get a feel for the process.
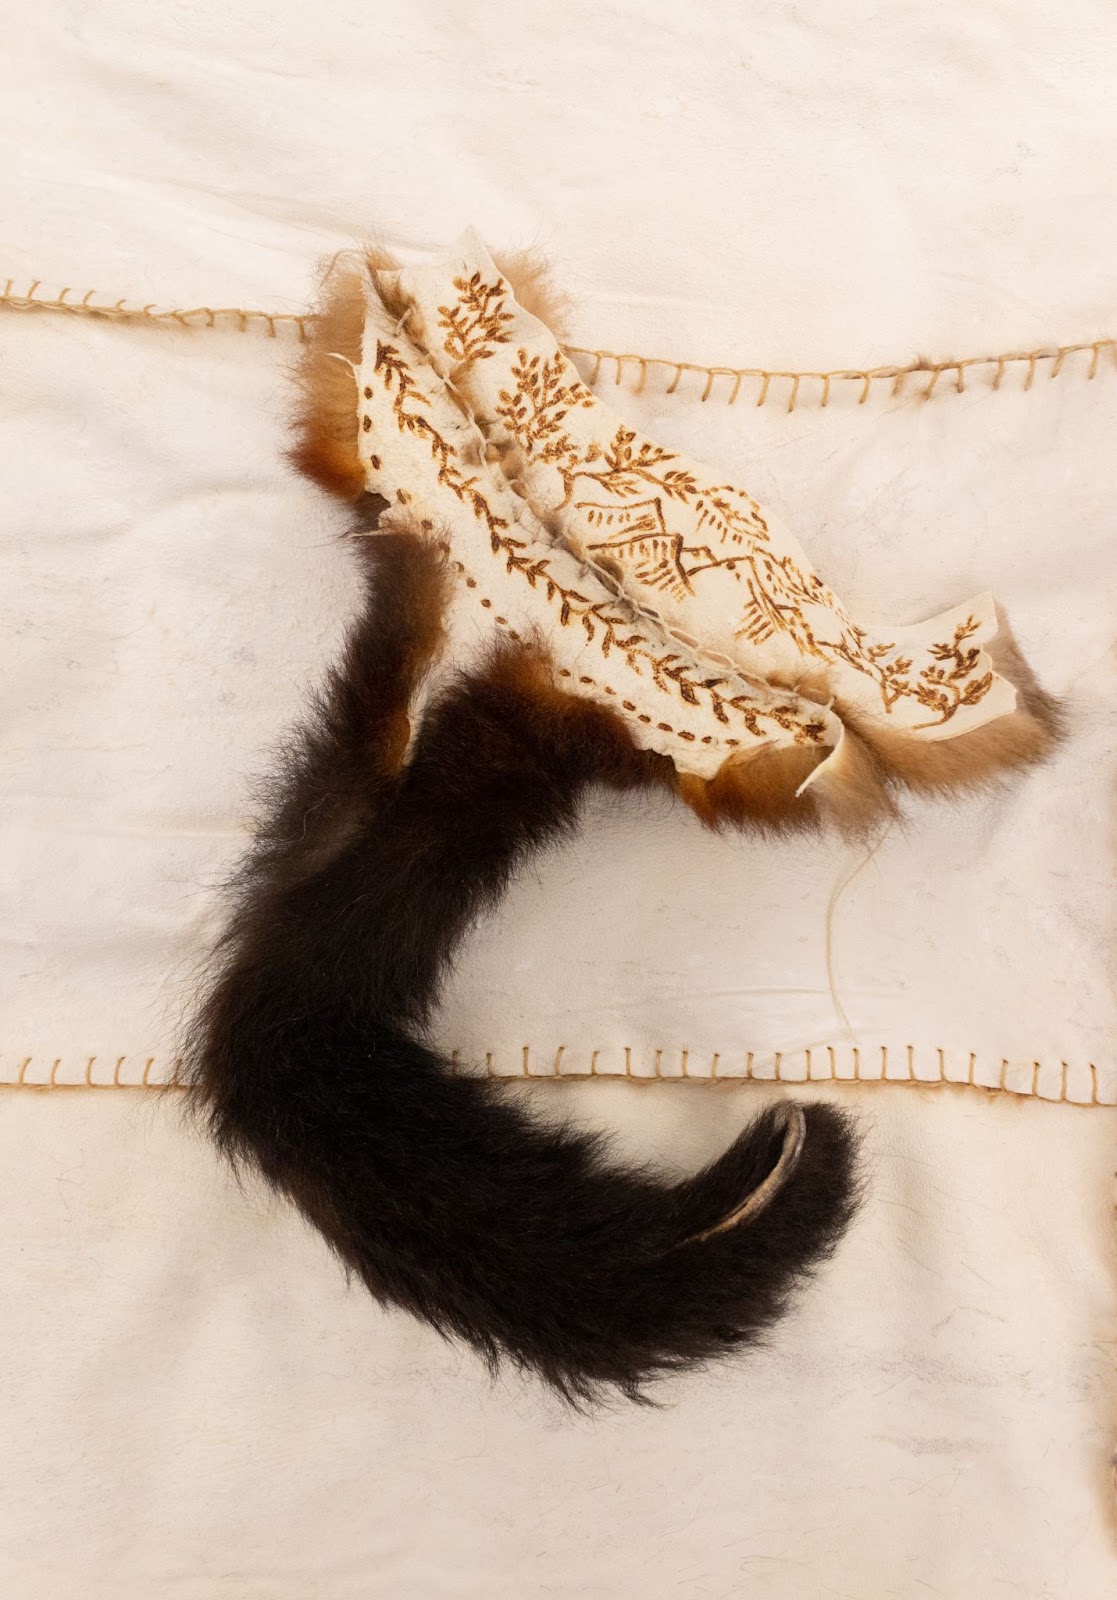
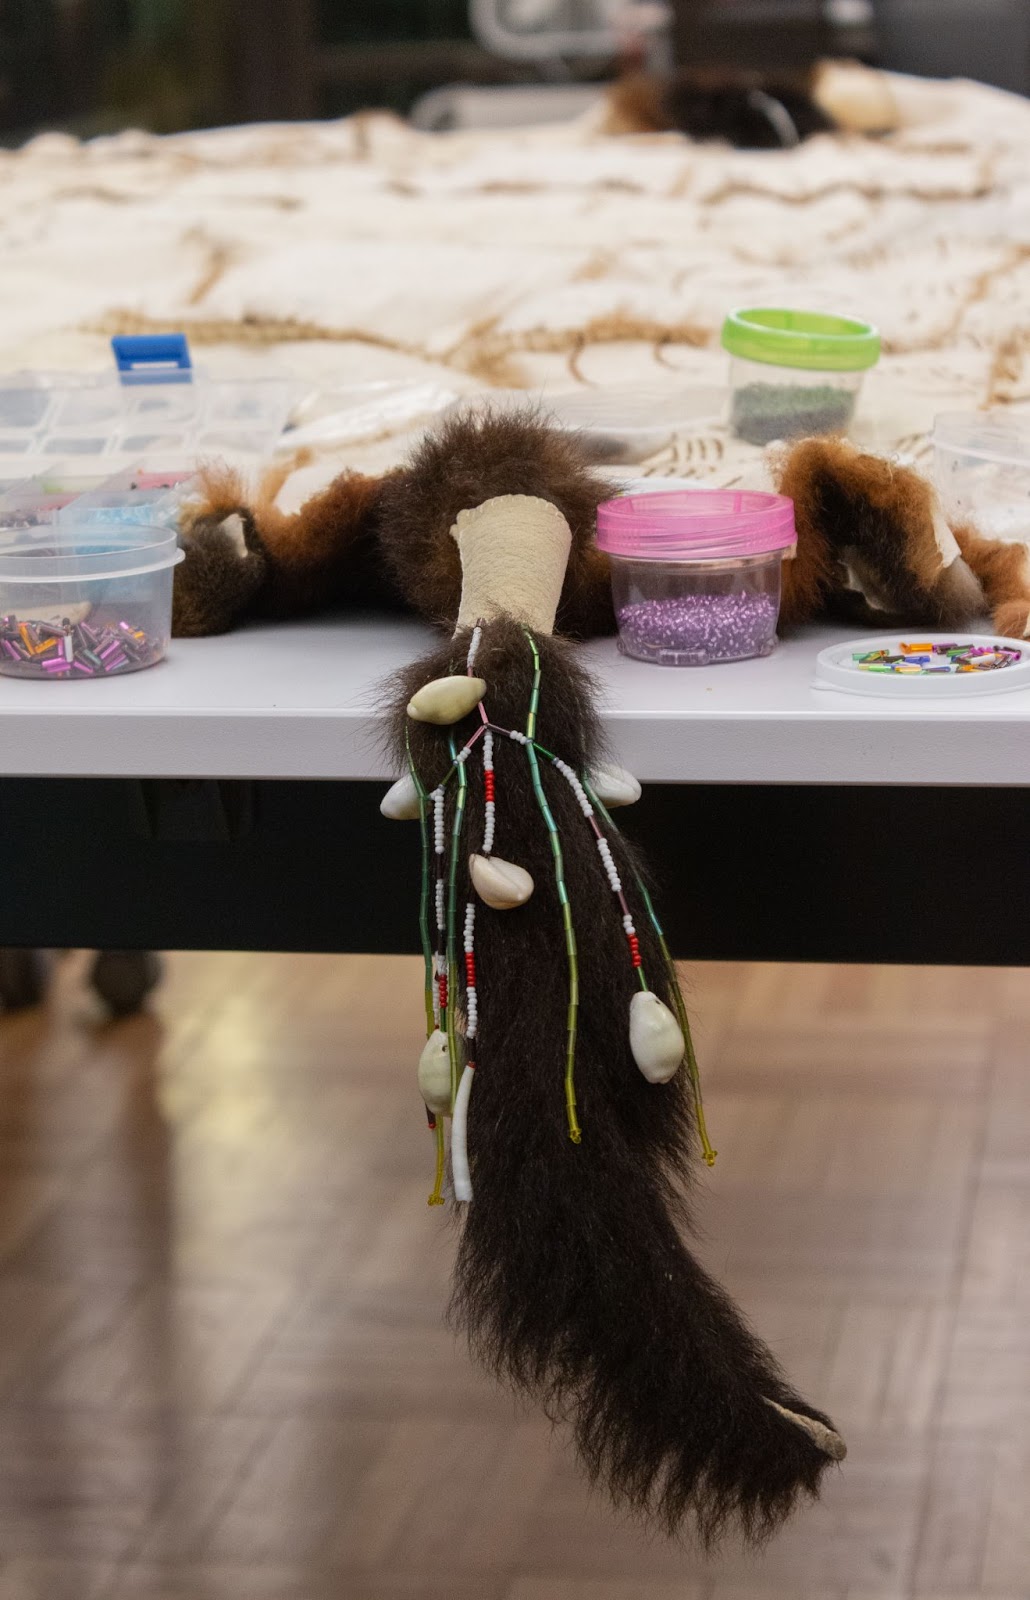
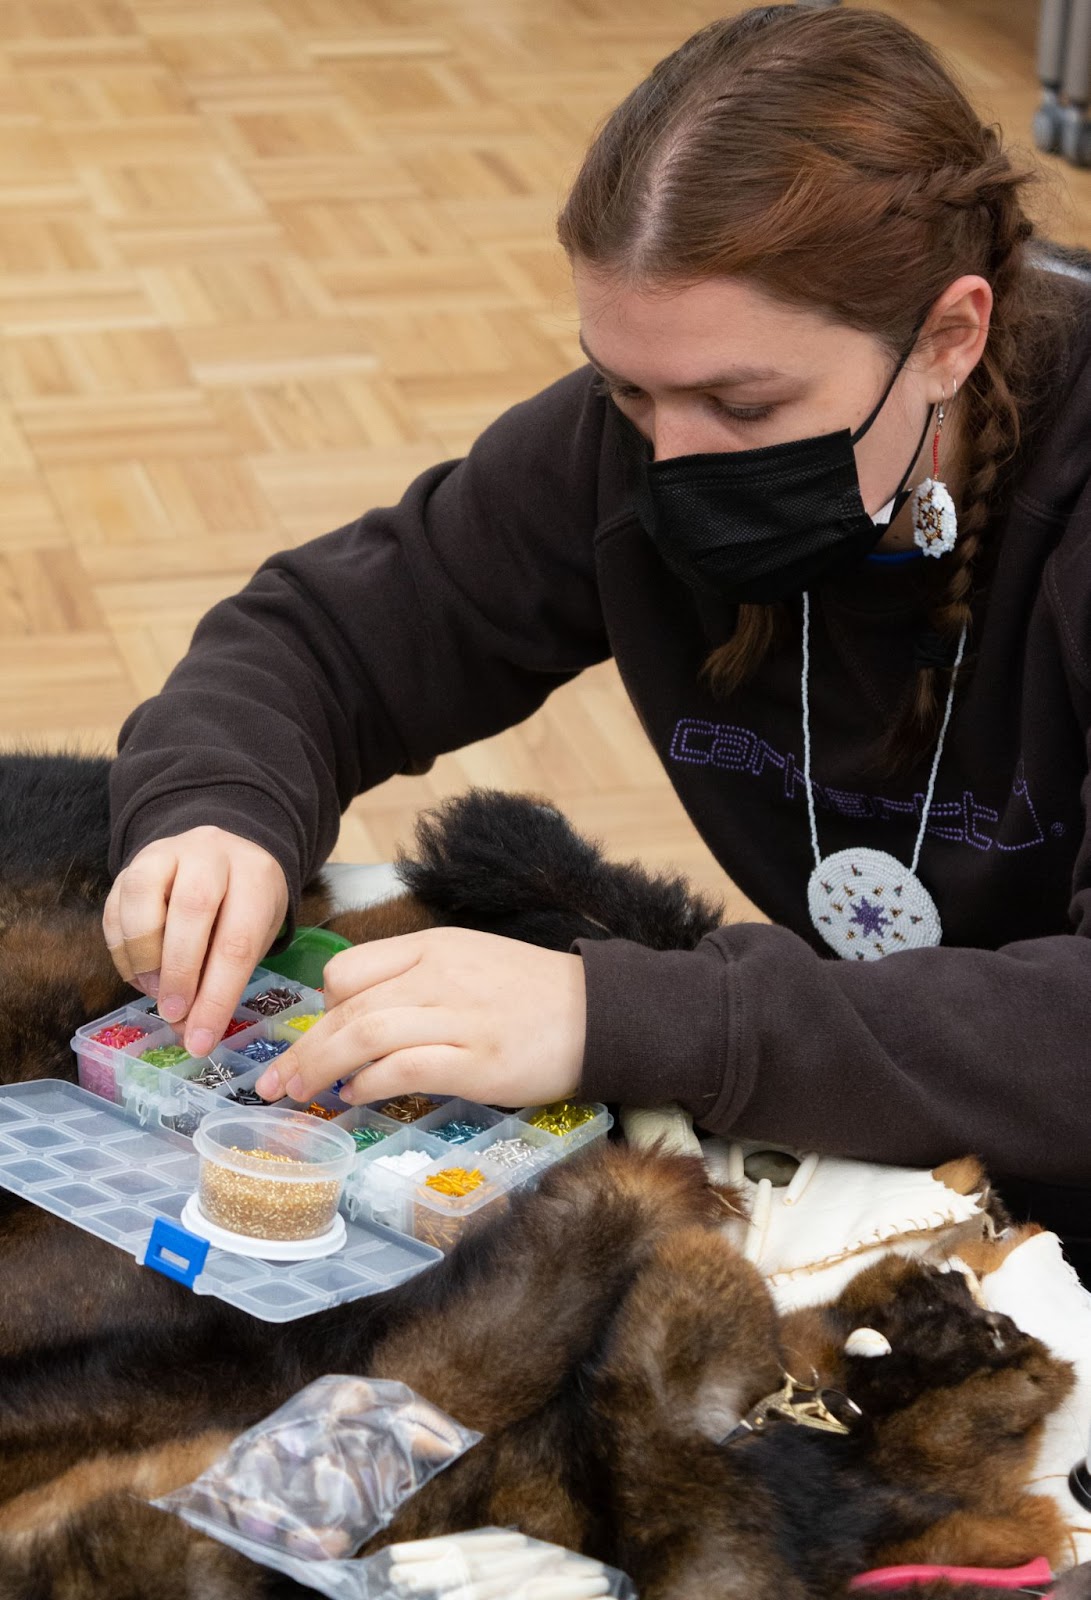
Juliette Gagnon and Molly Mahoney contributed beadwork designs to the seven possum tails at either end of the cloak. Incorporating tail embellishments into the overall design of the cloak, Juliette and Molly individually designed the patterns of the beading.
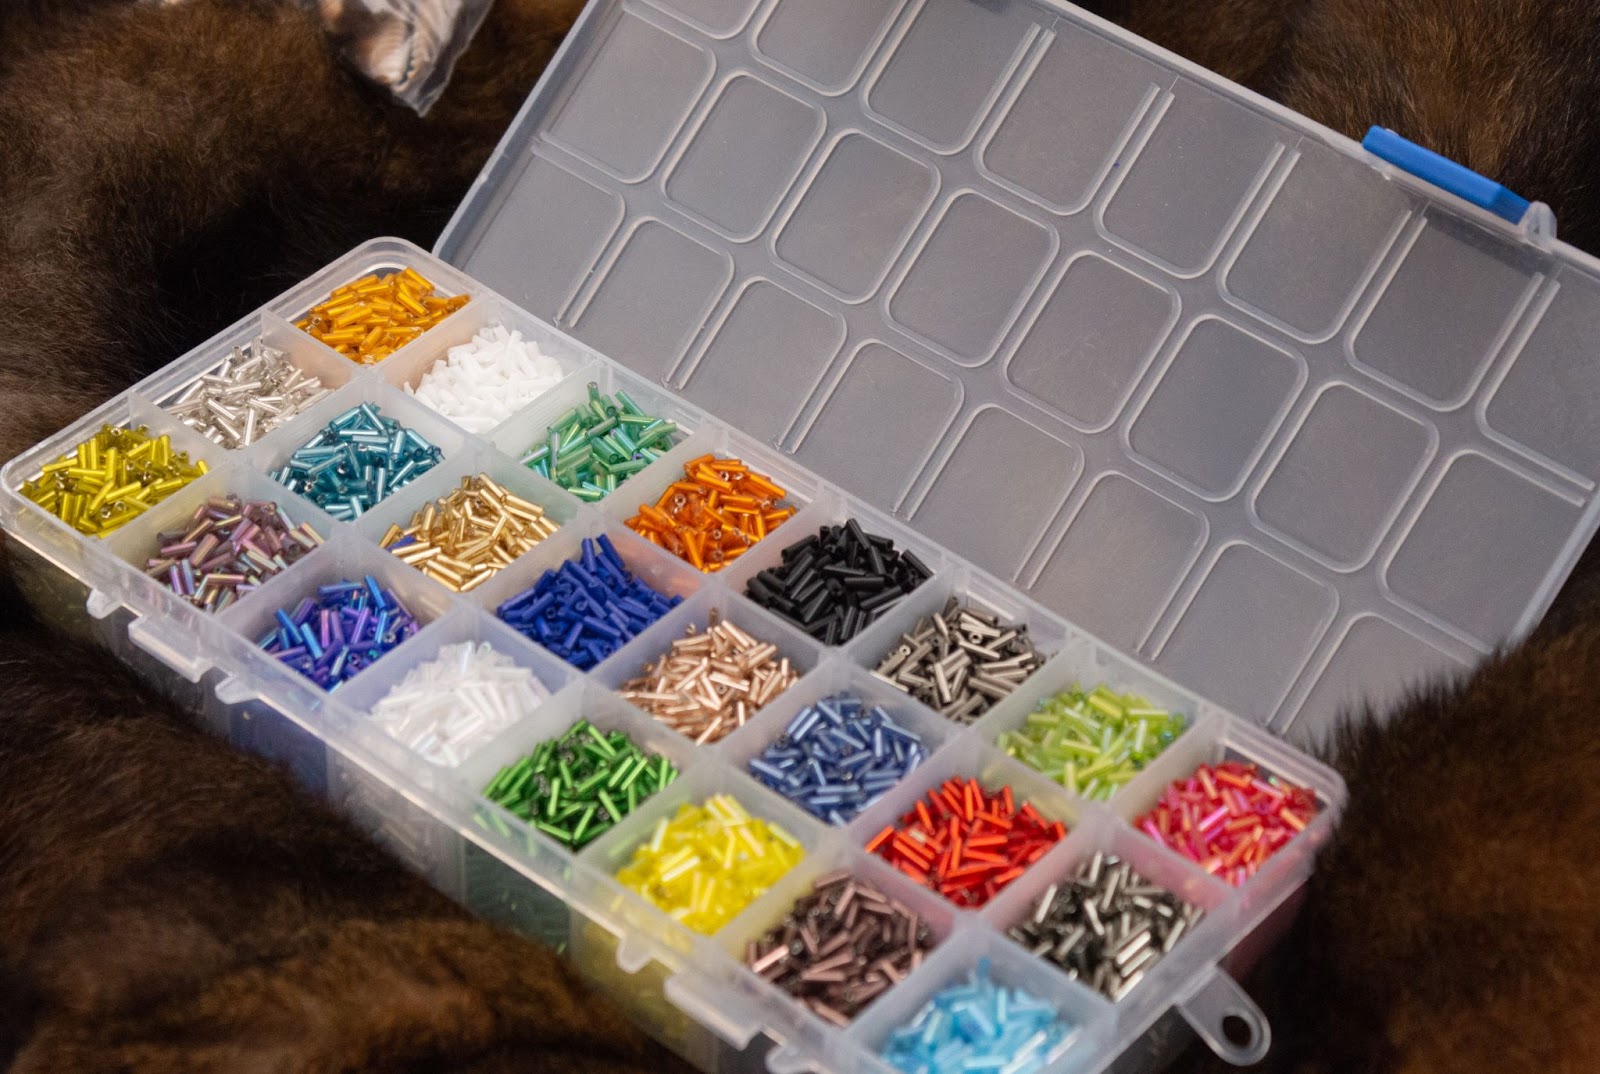
The leather and beading materials were provided from Juliette’s personal collection of found, gifted and sourced glass beads, shells and small pieces of bone.
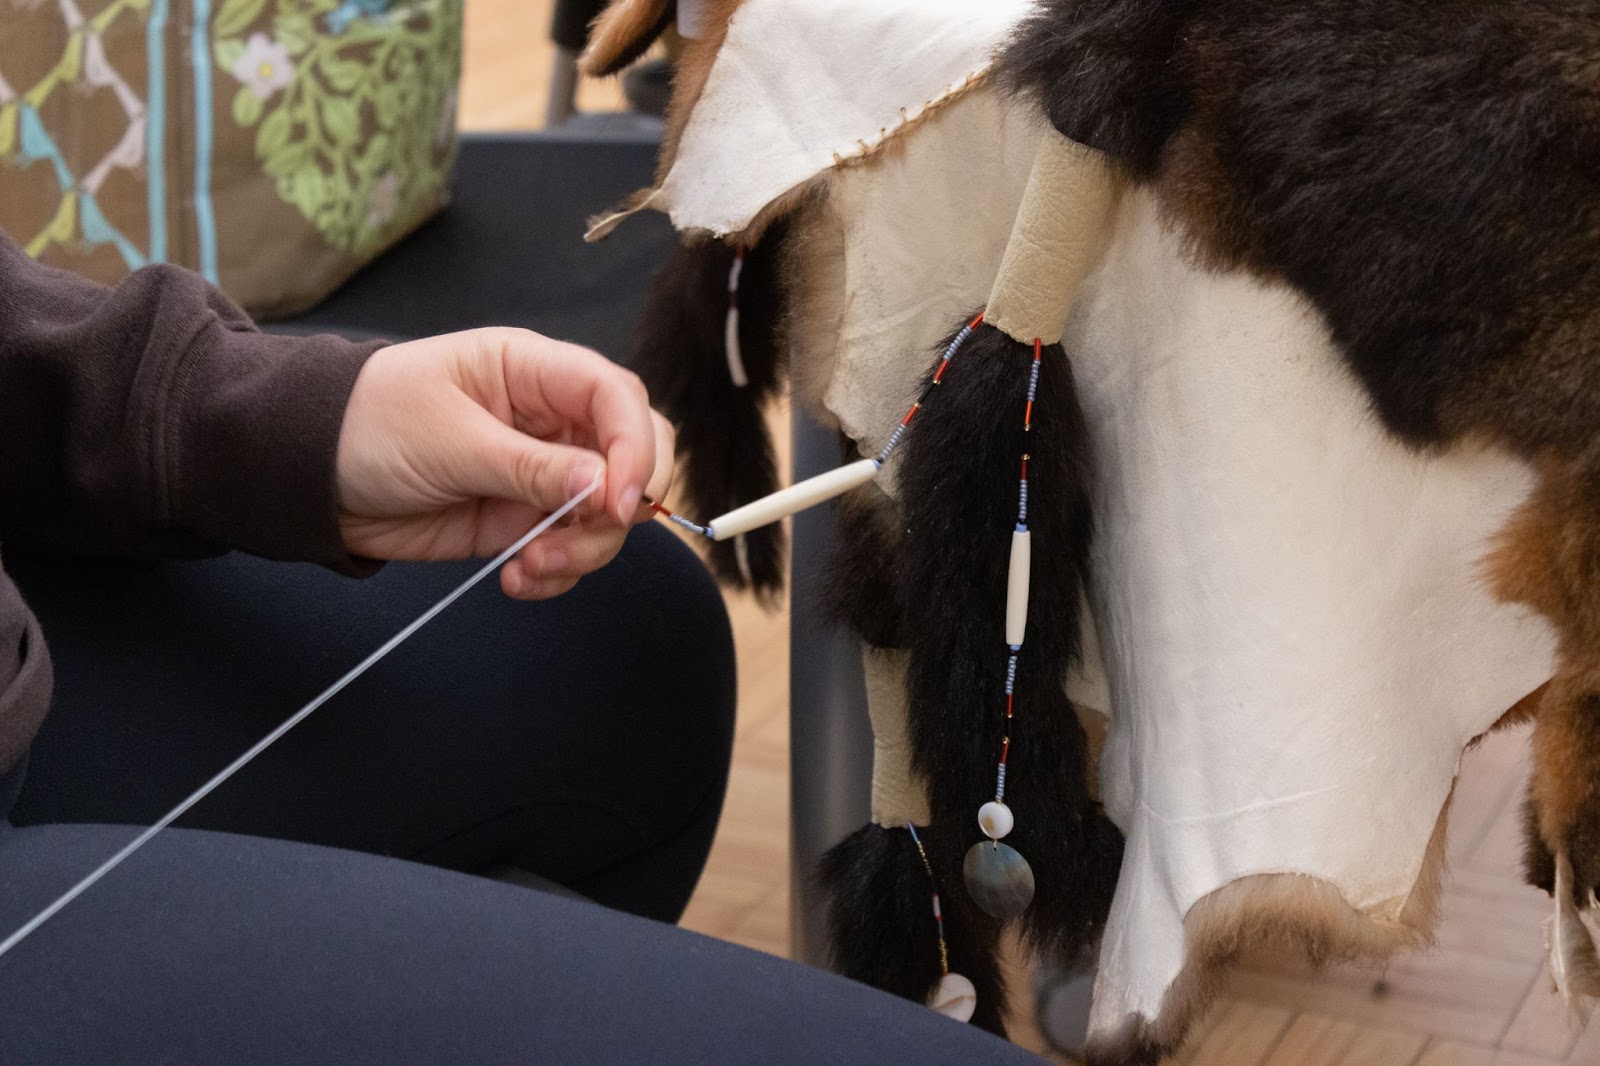
Beginning by delicately stitching a small section of leather onto the upper portion of each tail, Juliette and Molly used thin fishing line to conceal the seam. Multiple lines of beading were then attached around the circumference of the leather cuff, creating a series of colorful, cascading strands of beading.

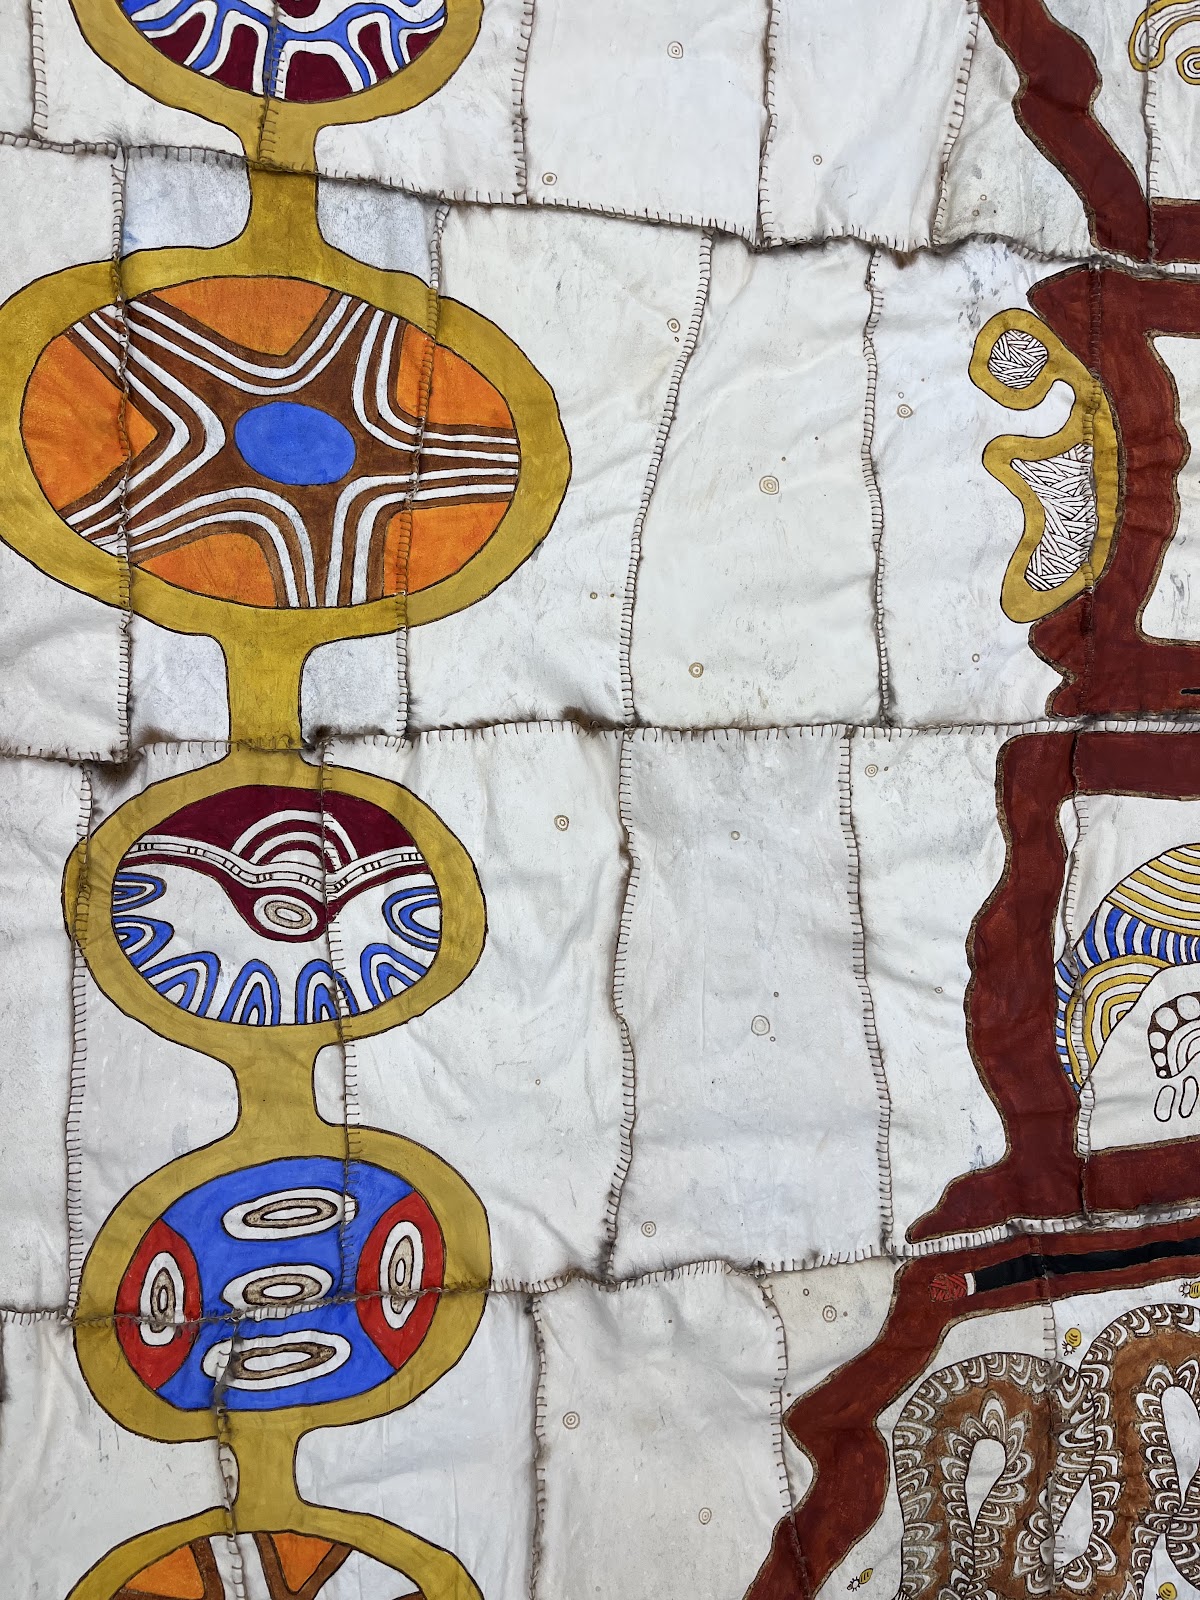
After the burning was completed, the artists began applying pigment to the surface designs of the cloak. The burn marks made by the burning tool act as barriers in between different pigments on the cloak, preventing the colors from bleeding into one another.
Various types of pigments were utilized on the cloak, including natural pigments and minerals such as ochre, red and yellow oxide. Additionally, synthetic acrylic pigments were used to create the bright blues and orange incorporated into the cloak design. After mixing the pigments with a wax to help the colors adhere to the treated surface of the skins, brushes were used to saturate the color between the burn lines. The colors utilized in the final design of the cloak correspond to the symbols/objects depicted.

Group Contact
This group can be contacted by emailing Elie Alexander (class of 2022) at alexa22e@mtholyoke.edu.